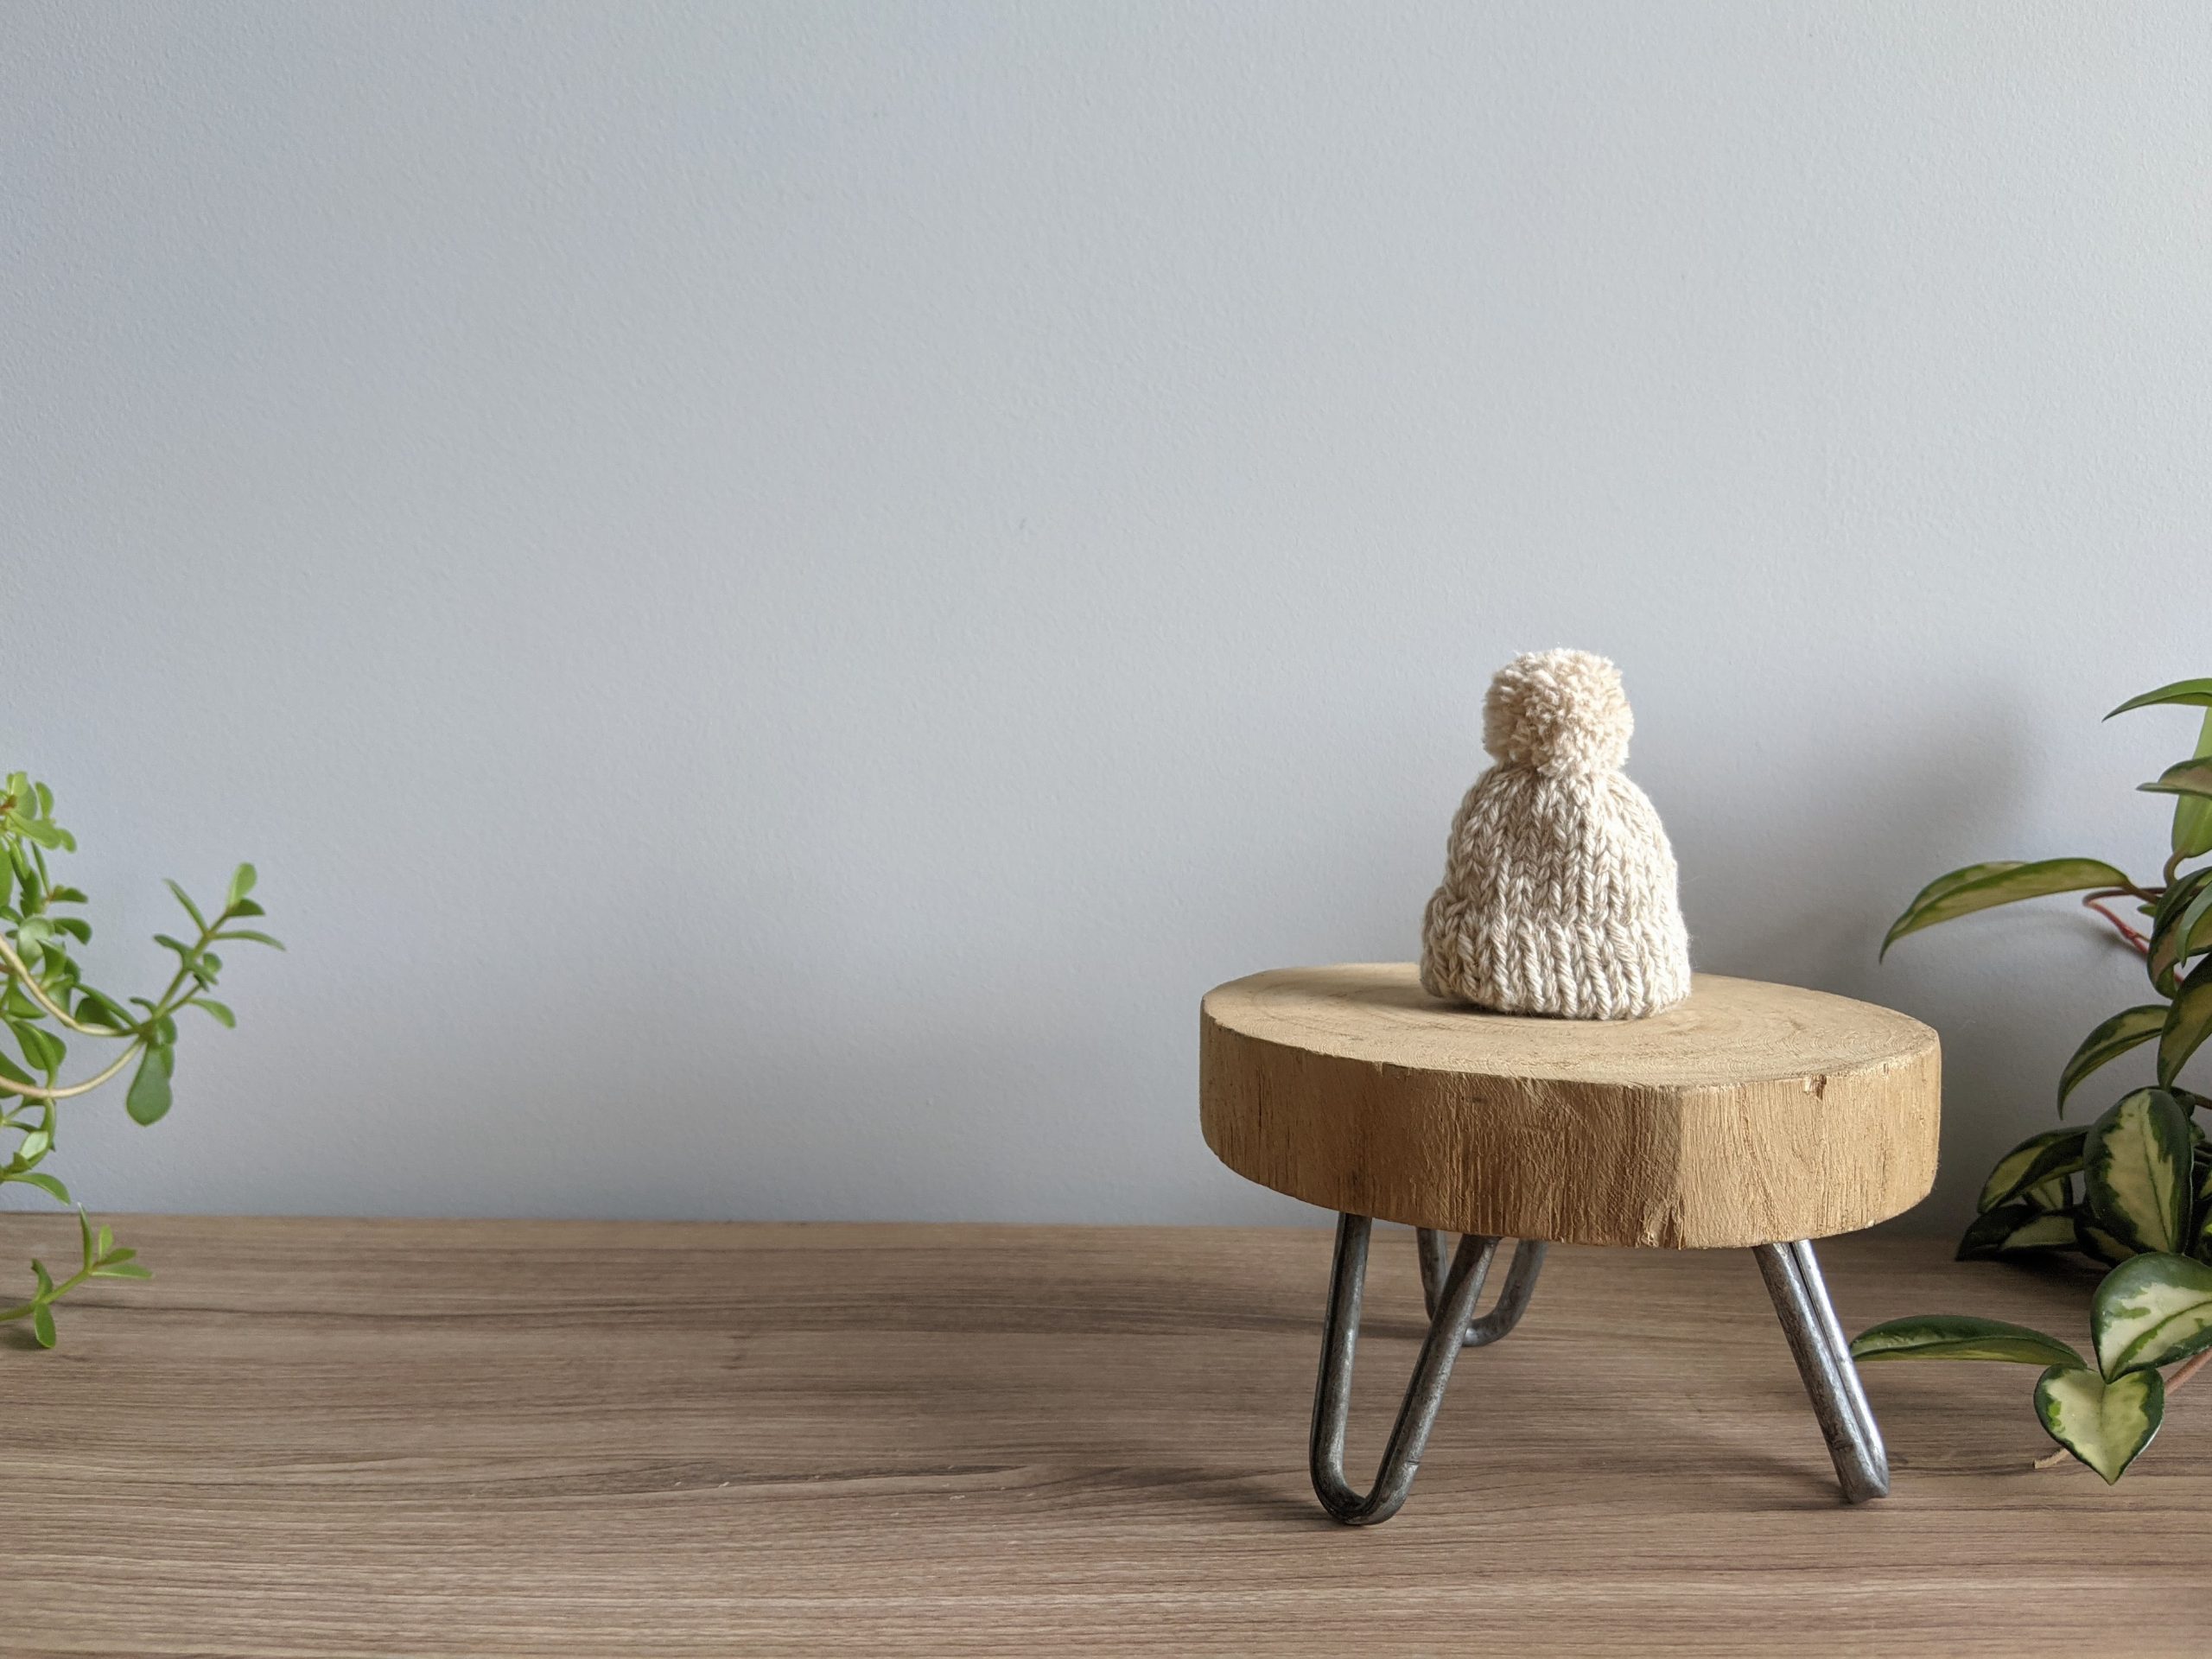
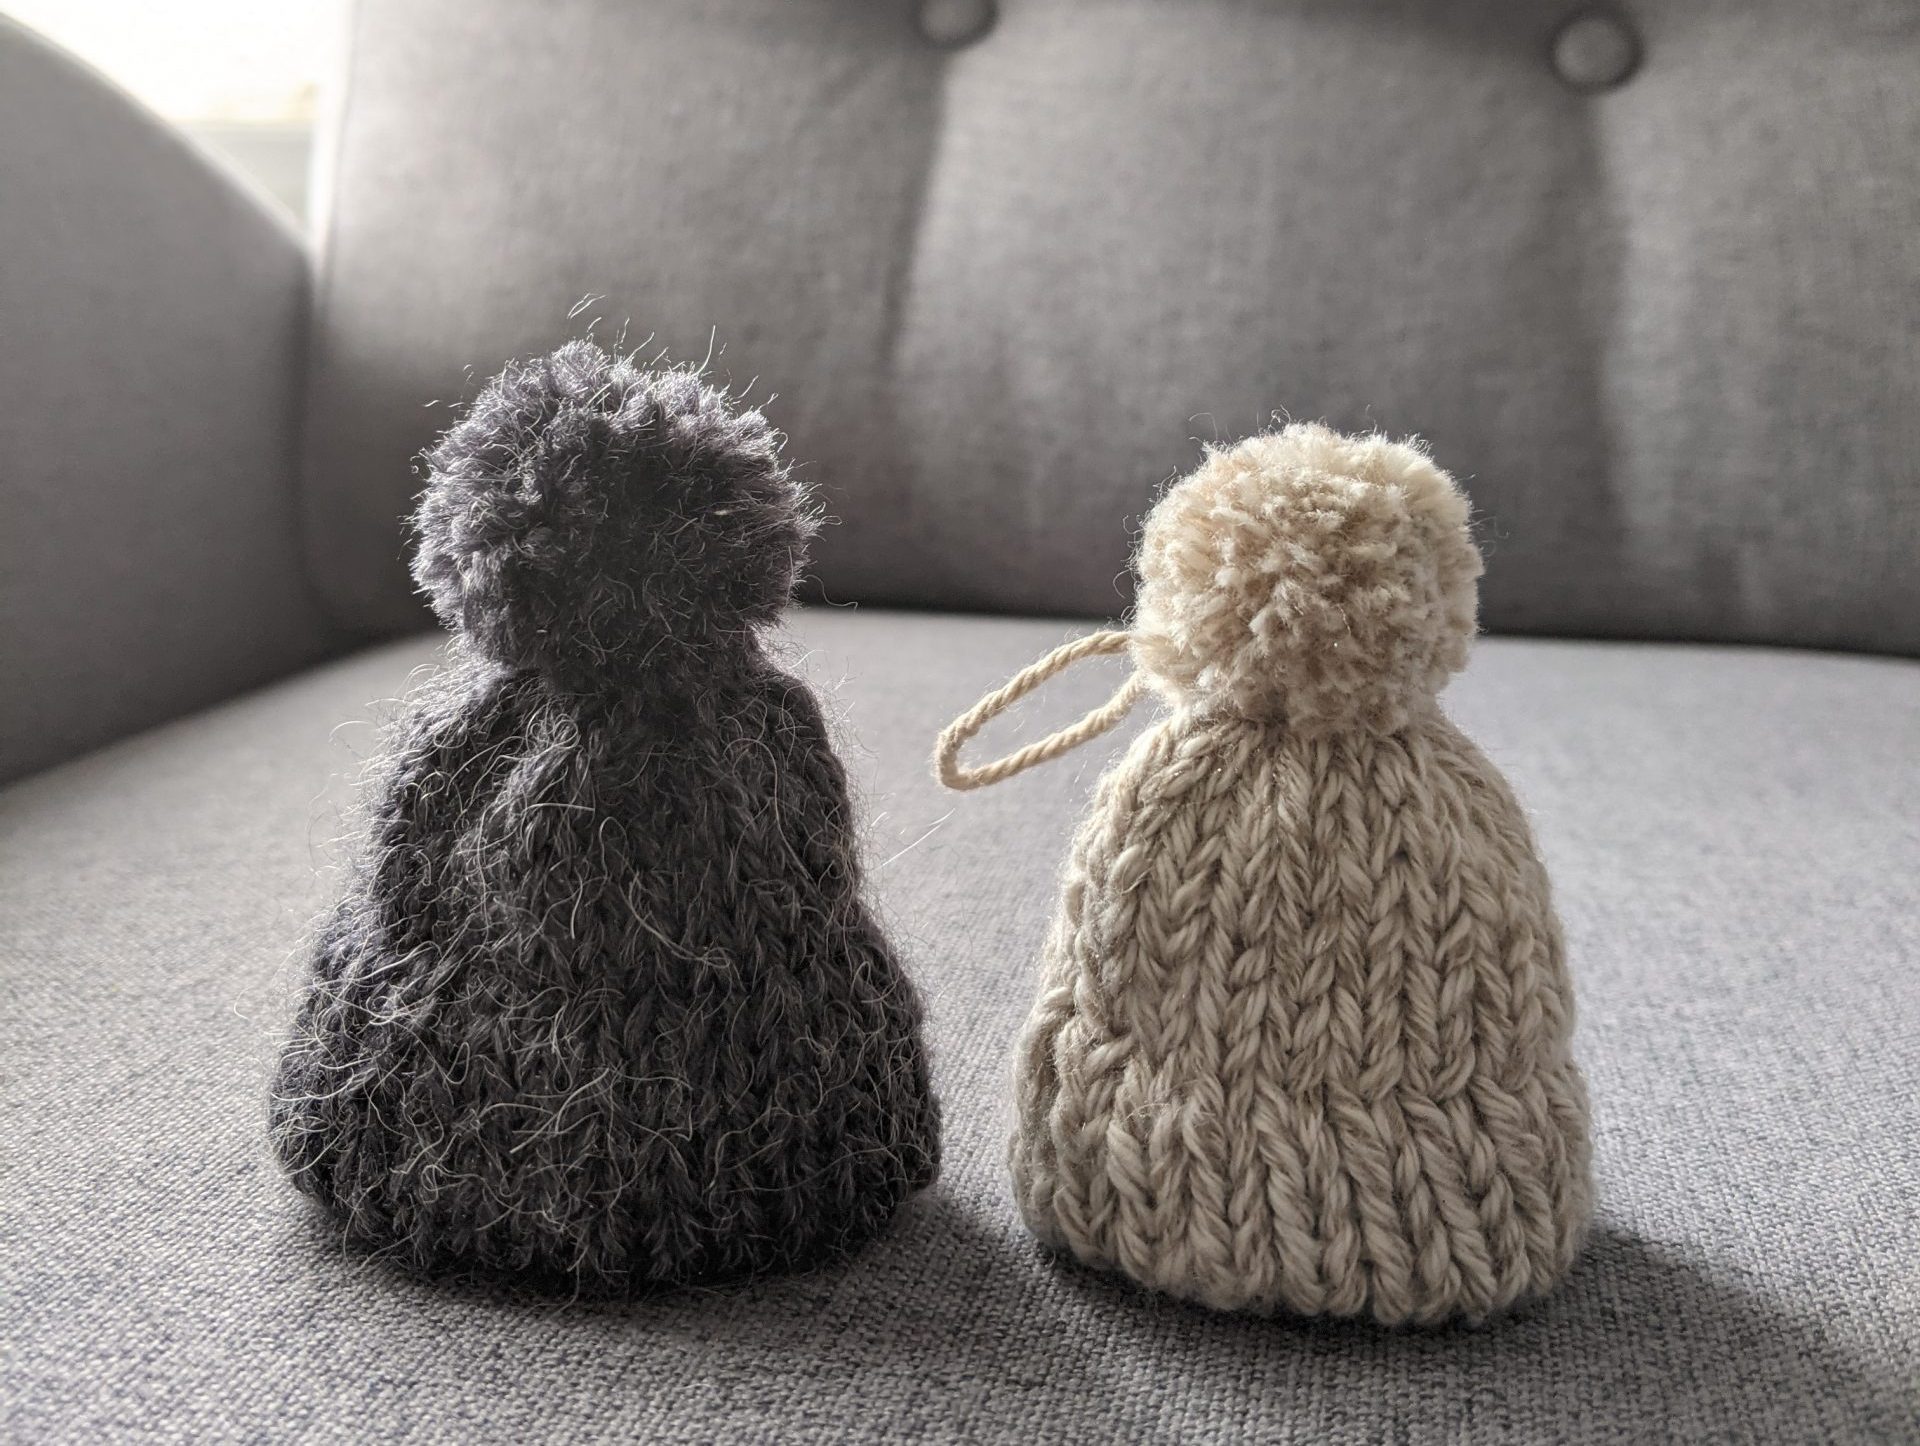
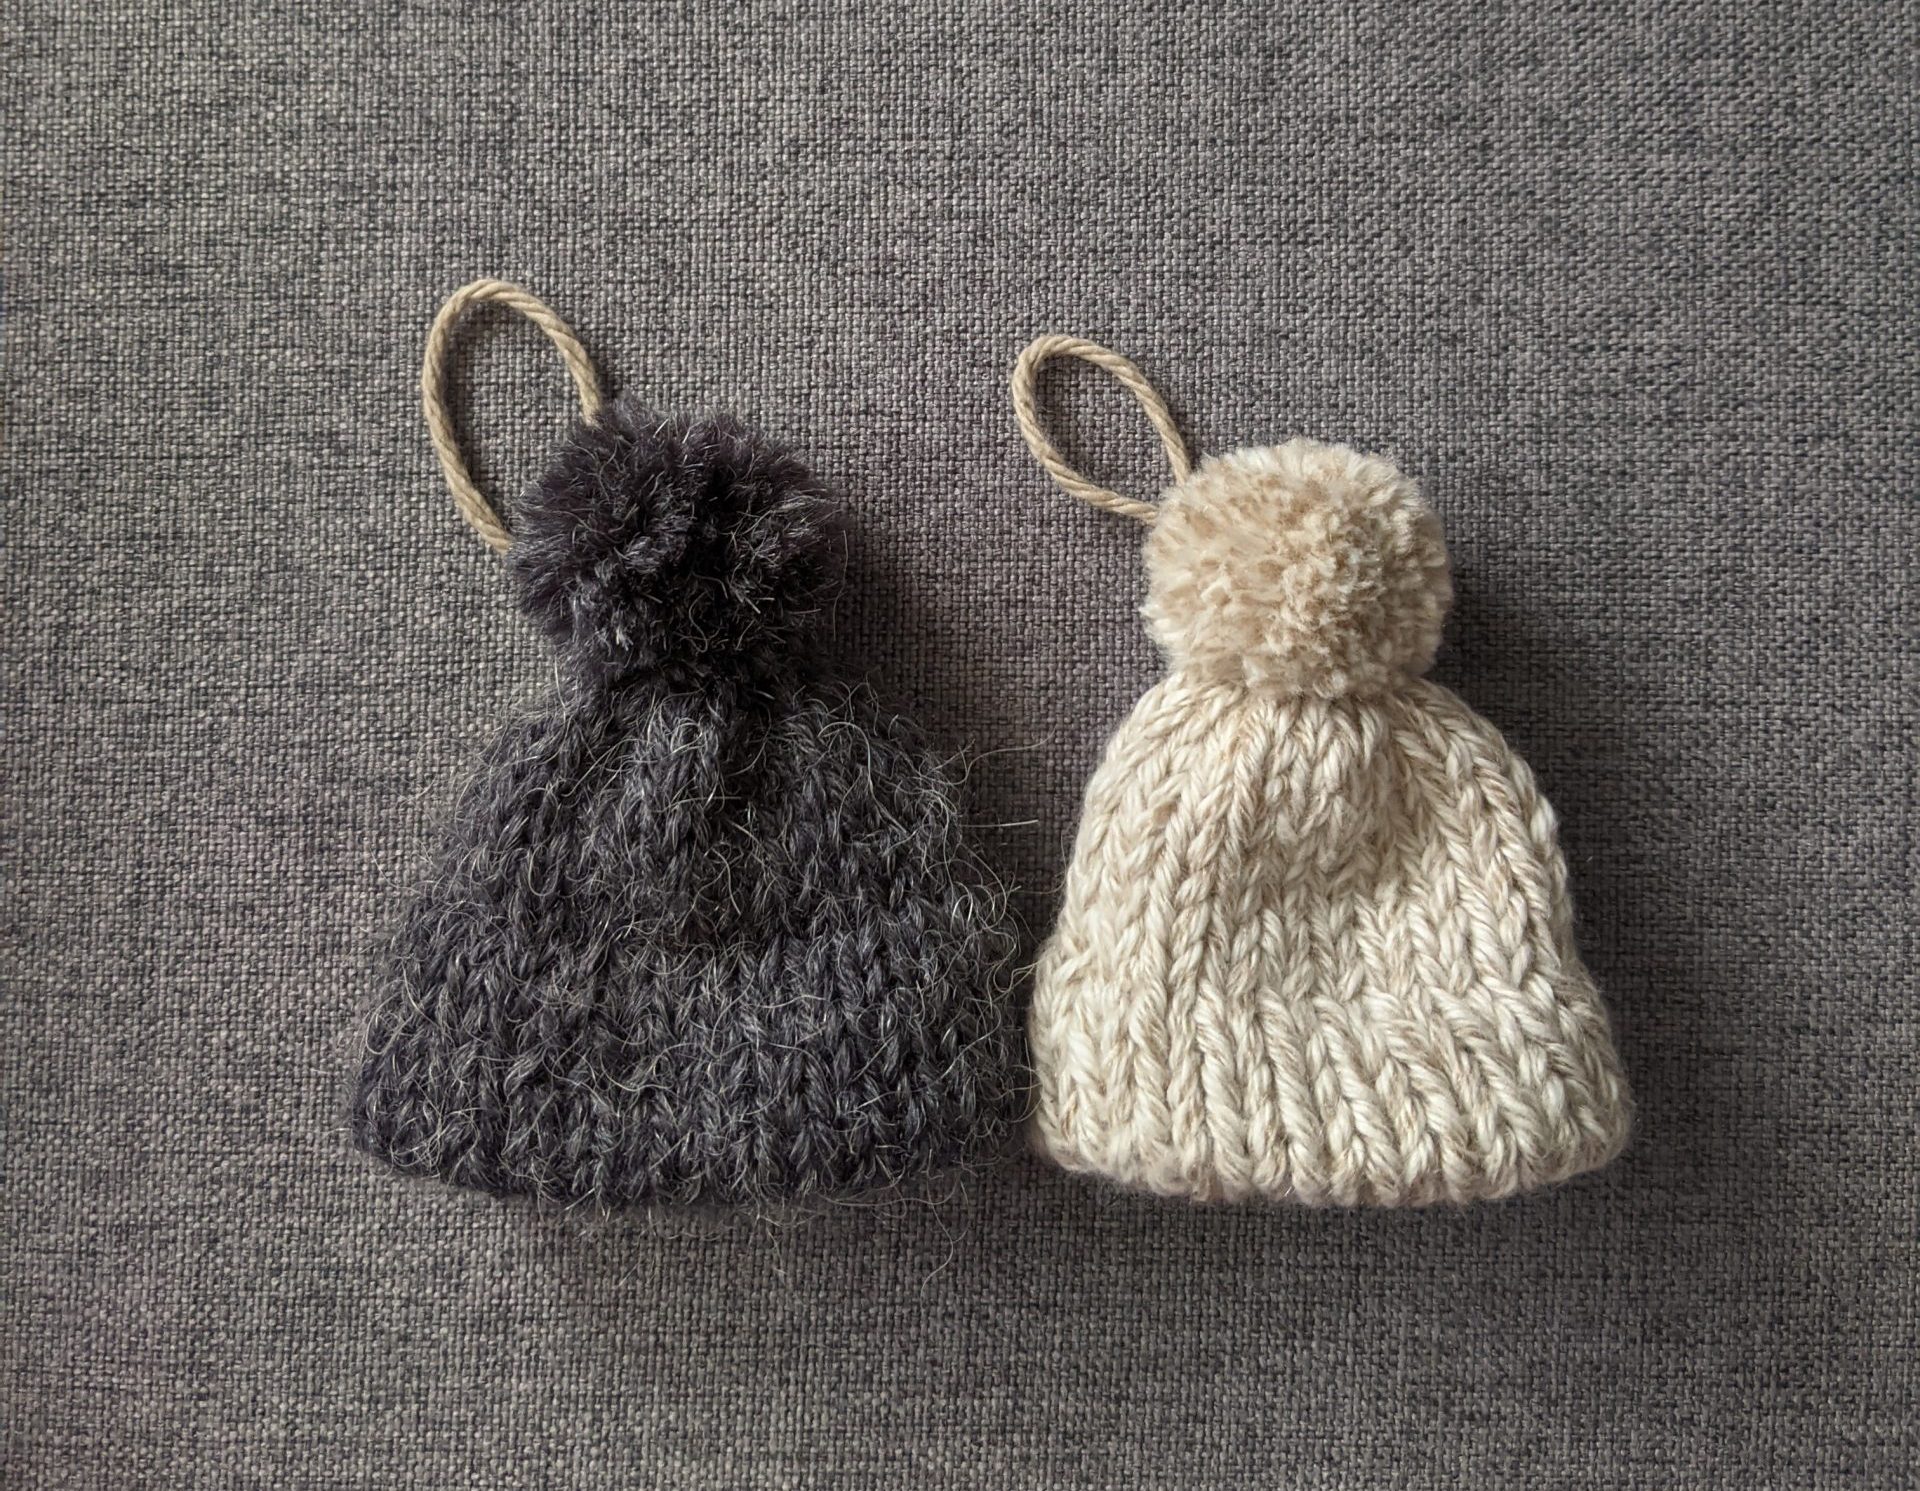
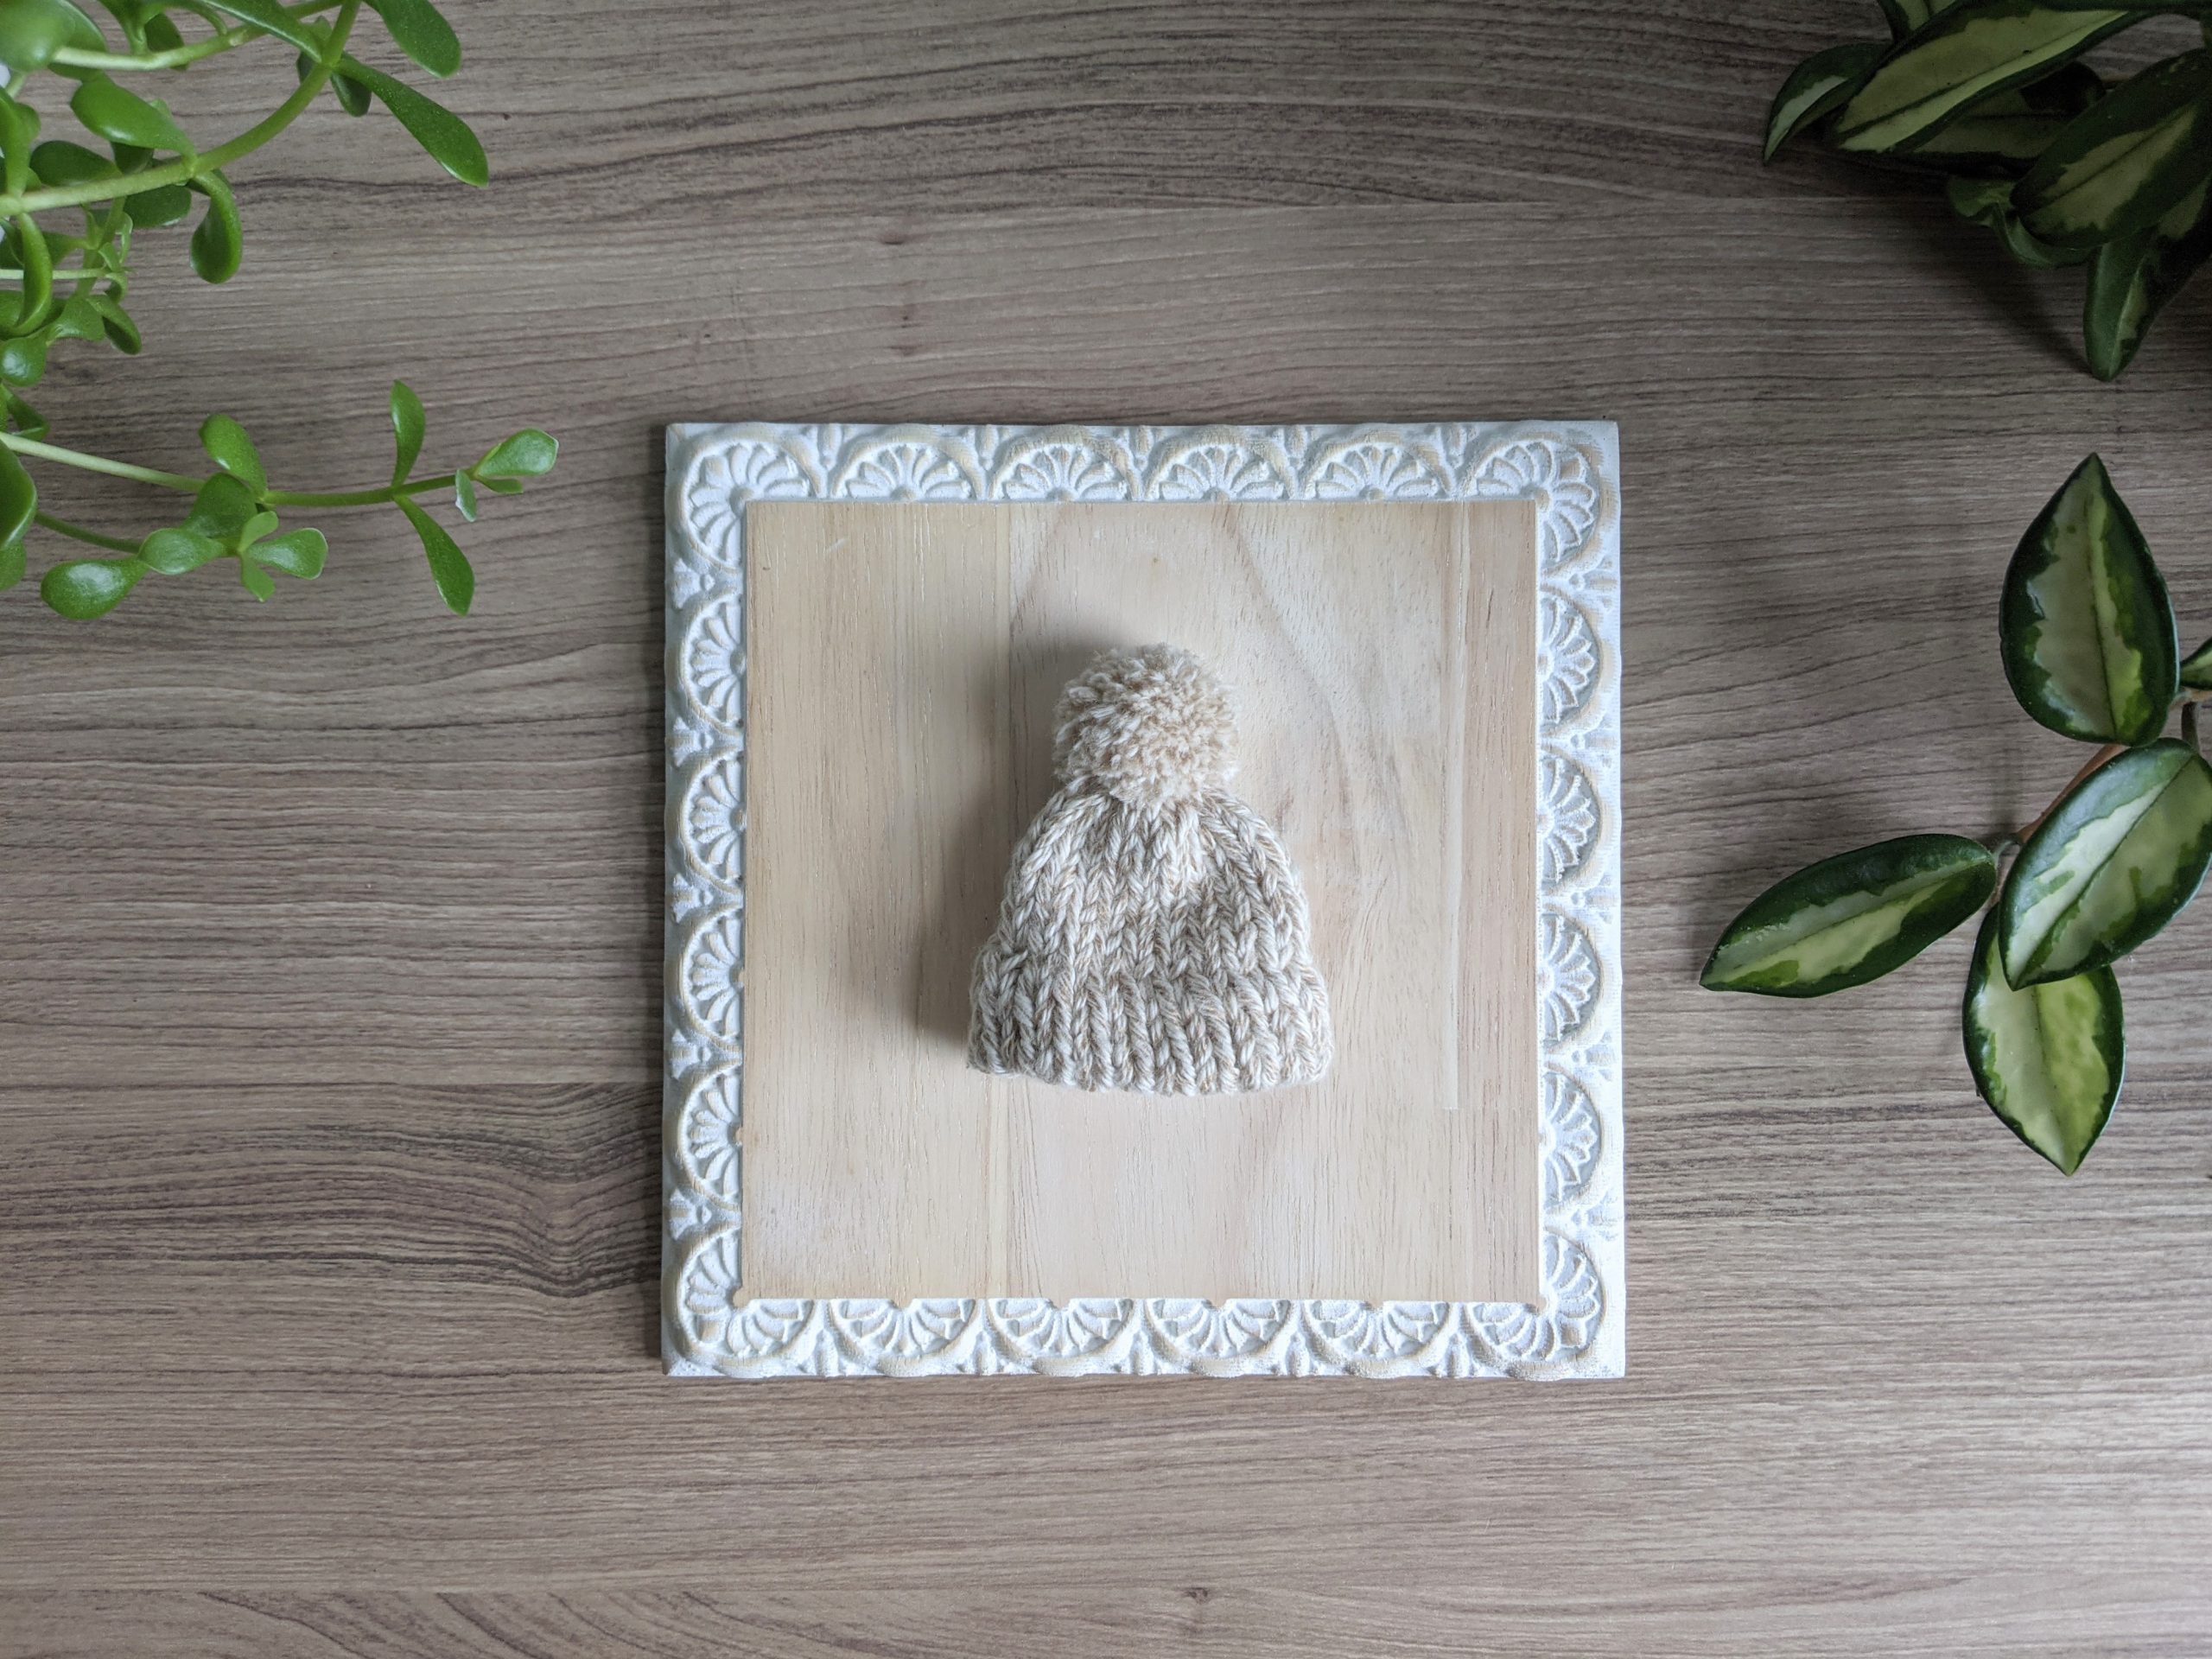
DOUBLE BRIM TEENIE BEANIE
DESCRIPTION
Does anyone else love the look of a double brim? It's so clean and a nice change from a classic ribbed brim. Especially on a tiny beanie! When I learned how to do a double brim, it was game changing for my hat game. If you haven't tried a double brim before, why not try out a mini version and see how you like it?
DIFFICULTY LEVEL
This is a beginner friendly pattern. Besides the basic knit stitch, you'll need to know how to knit in the round with double-pointed needles, decrease by knitting two stitches together, and make a pom pom.
GAUGE
Gauge is not critical for this pattern. If you want a larger beanie, you can use a bulkier-weight yarn or a larger needle size. For a smaller beanie, you can use a lighter- weight yarn or smaller needle size. My final measurements are 3.25n by 2.75in (8.26cm x 6.99cm)
MATERIALS
ABBREVIATIONS
K = Knit
K2tog = Knit 2 together
CO = Cast On
St(s) = Stitch(es)
Rep = Repeat
THE PATTERN
Below is the free pattern for my double brim teenie beanie! If you prefer a written pattern with step-by-step pictures as a downloadable PDF, you can add it to your cart HERE
You can also purchase it on Ravelry or at my Etsy shop.
SETUP
On double-pointed needles, CO 20 sts and divide amongst three needles (6 sts on one needle, and 7 sts on the other two).
Make sure your stitches aren’t twisted and join in the round. You can use any technique you would like for this step, but I prefer an invisible join.
DOUBLE BRIM
Rows 1-10: K all sts.
Next, fold the brim in half by flipping the bottom of the piece inward (the wrong sides of the stockinette stitch should be facing each other).
Row 11: You are going to knit the next row into the cast-on stitches by inserting your left needle into the cast-on stitch and using the right needle to knit into both the live stitch and the cast-on stitch as though they were one. Do this across the row, and it will create the double brim.
BODY
Rows 12-17: K all sts.
SHAPING THE CROWN
Row 15: *K3, K2tog*; rep from * to end of row. You will have 16 sts.
Row 16: *K2, K2tog*; rep from * to end of row (12 sts).
Row 17: *K1, K2ttog*; rep from * to end of row (8 sts).
Row 18: K2tog until end of row. (4 sts).
FINISHING
Cut the yarn, leaving a 6-in (15cm) tail. Use your tapestry needle to thread the tail through the remaining sts. Pull the yarn tight and weave in tail to secure.
Weave in and trim all ends.
MAKING THE POM POM
Cut a 6-in (15cm) piece of scrap yarn and set aside for later use.
With the ball of yarn, insert the end into the middle space of your fork. Begin wrapping around the end to keep it in place. You will wrap the yarn around the fork 17 times. Cut the yarn.
Grab your scrap piece of yarn and thread it in the middle space of your fork. Tie the yarn around the wrapped yarn and double knot as tight as you humanly can to prevent the pom pom from falling apart or creating a line.
Carefully pull the bundle off of the fork. Cut the loops and trim the pom pom into a tiny spherical shape.
Attach it to the top of your teenie beanie by pulling one of the ends through a hole at the top of the hat and the other end through a separate hole. You don’t want to pull both ends through the same hole. Secure with a double knot.
Tip: A small pom pom is harder to work with than a larger size. Make your knots as tight as possible.