TEENIE BEANIE
DESCRIPTION
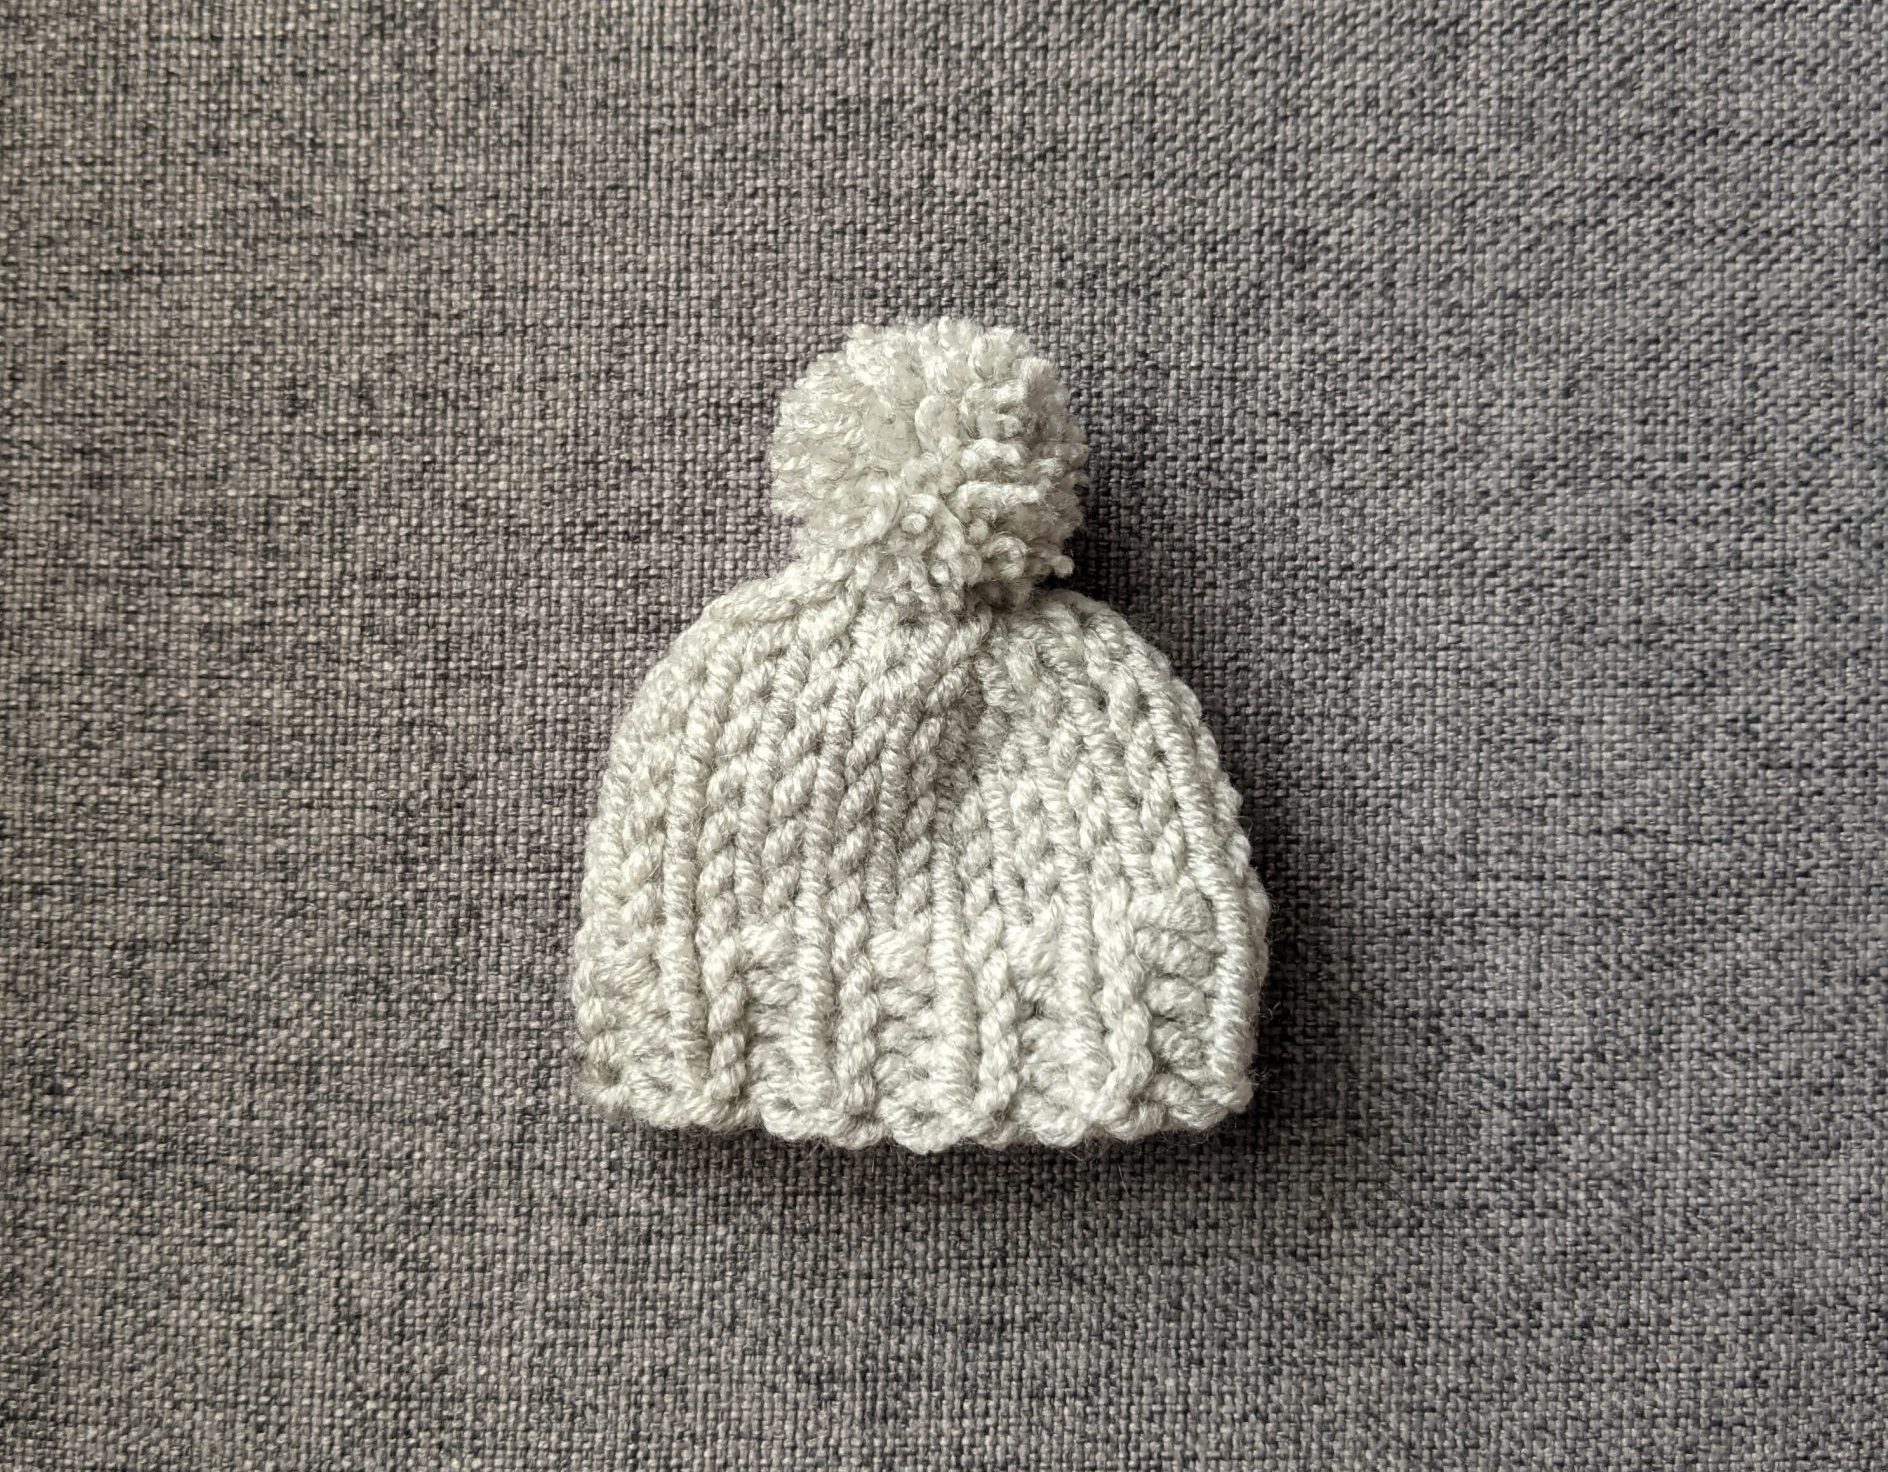
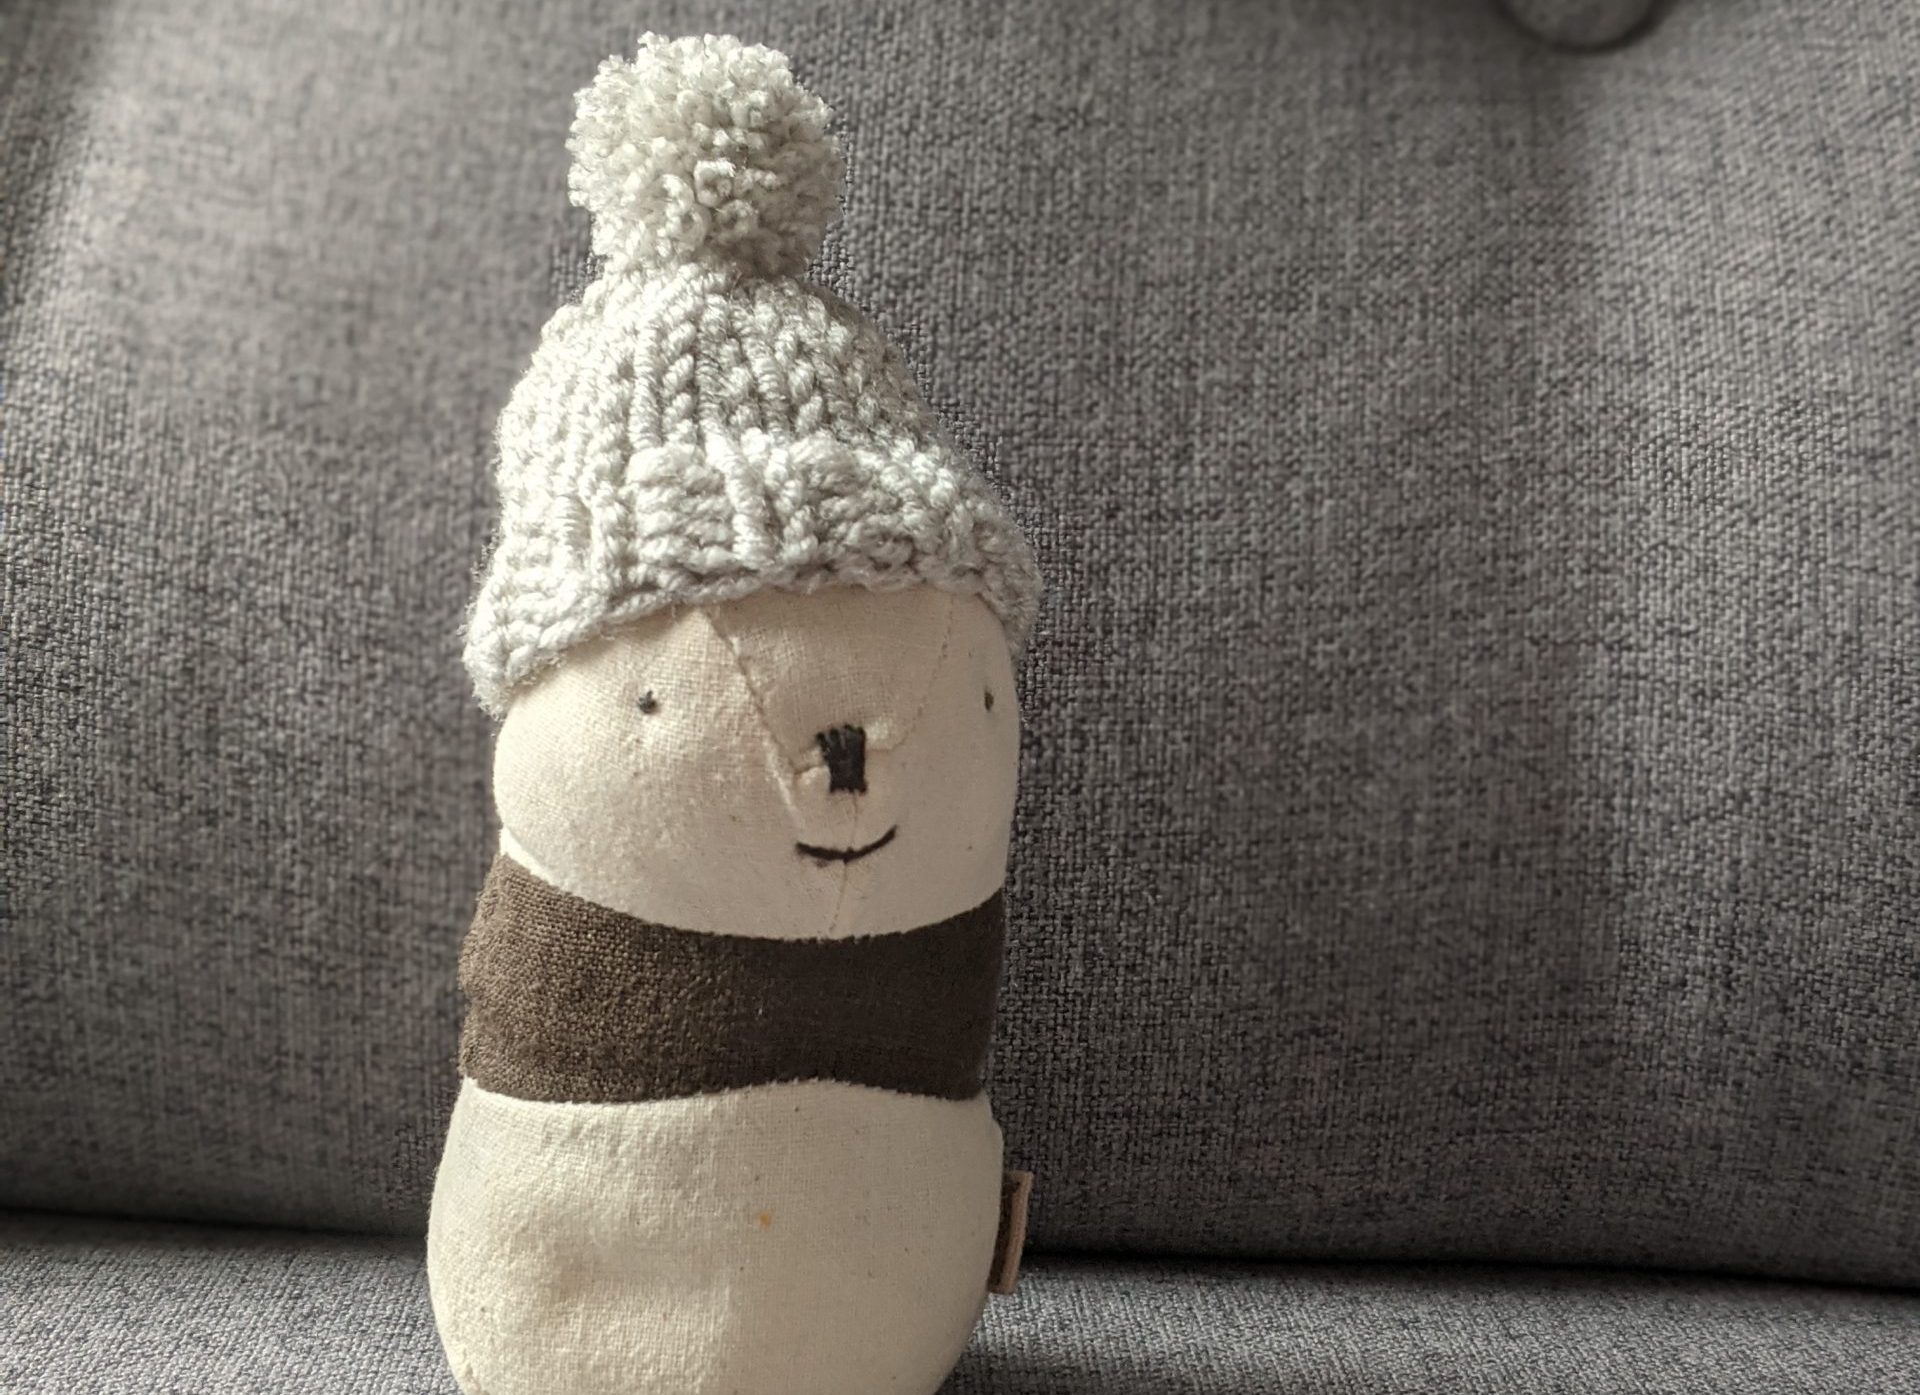
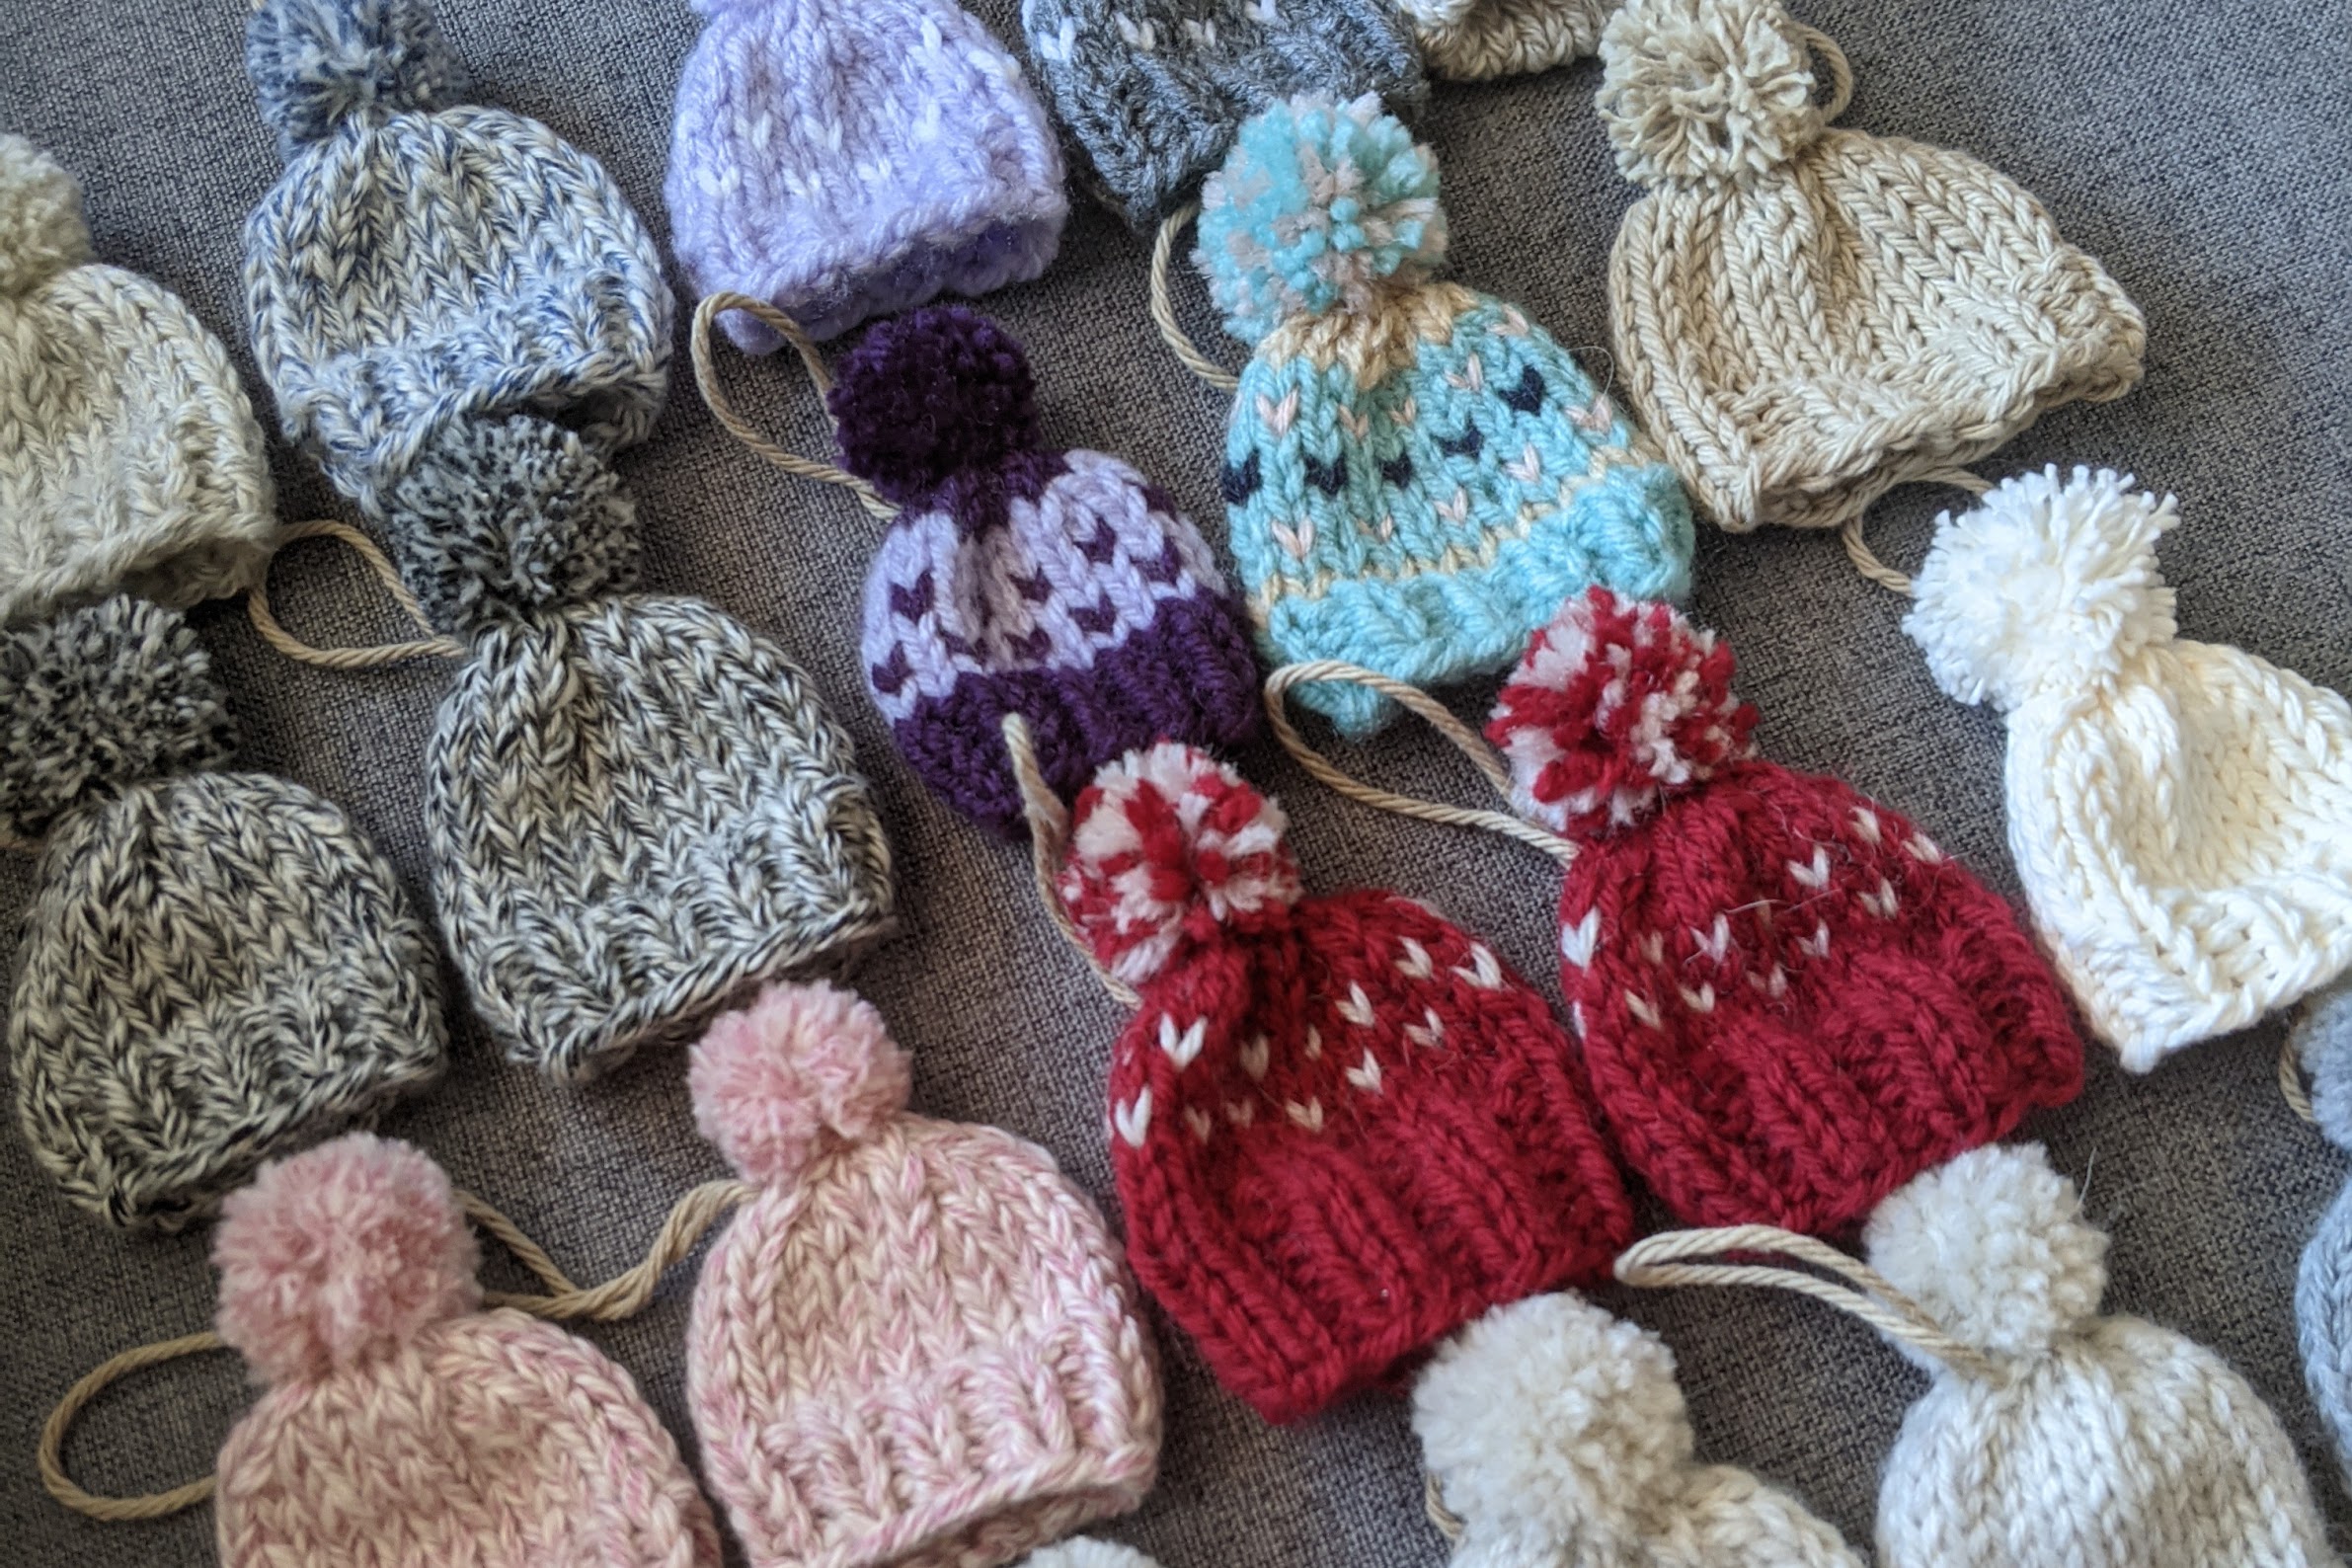
It was Christmas, and I wanted a quick project that I could mass produce as gifts for all my friends & family. I knew I wanted to make an ornament, but balls are kinda boring unless you do special colorwork or patterns. After some extensive research, I decided to make a tiny beanie! It'd be quick, I could work through my scrap yarn, and who doesn't like tiny replicas of big things?
I came up with this pattern because I couldn't find one I liked anywhere else. Other tiny beanies had their proportions all out of whack. Like the stitch was either too big or too small for the size of the hat, or the pom pom was ginormous.
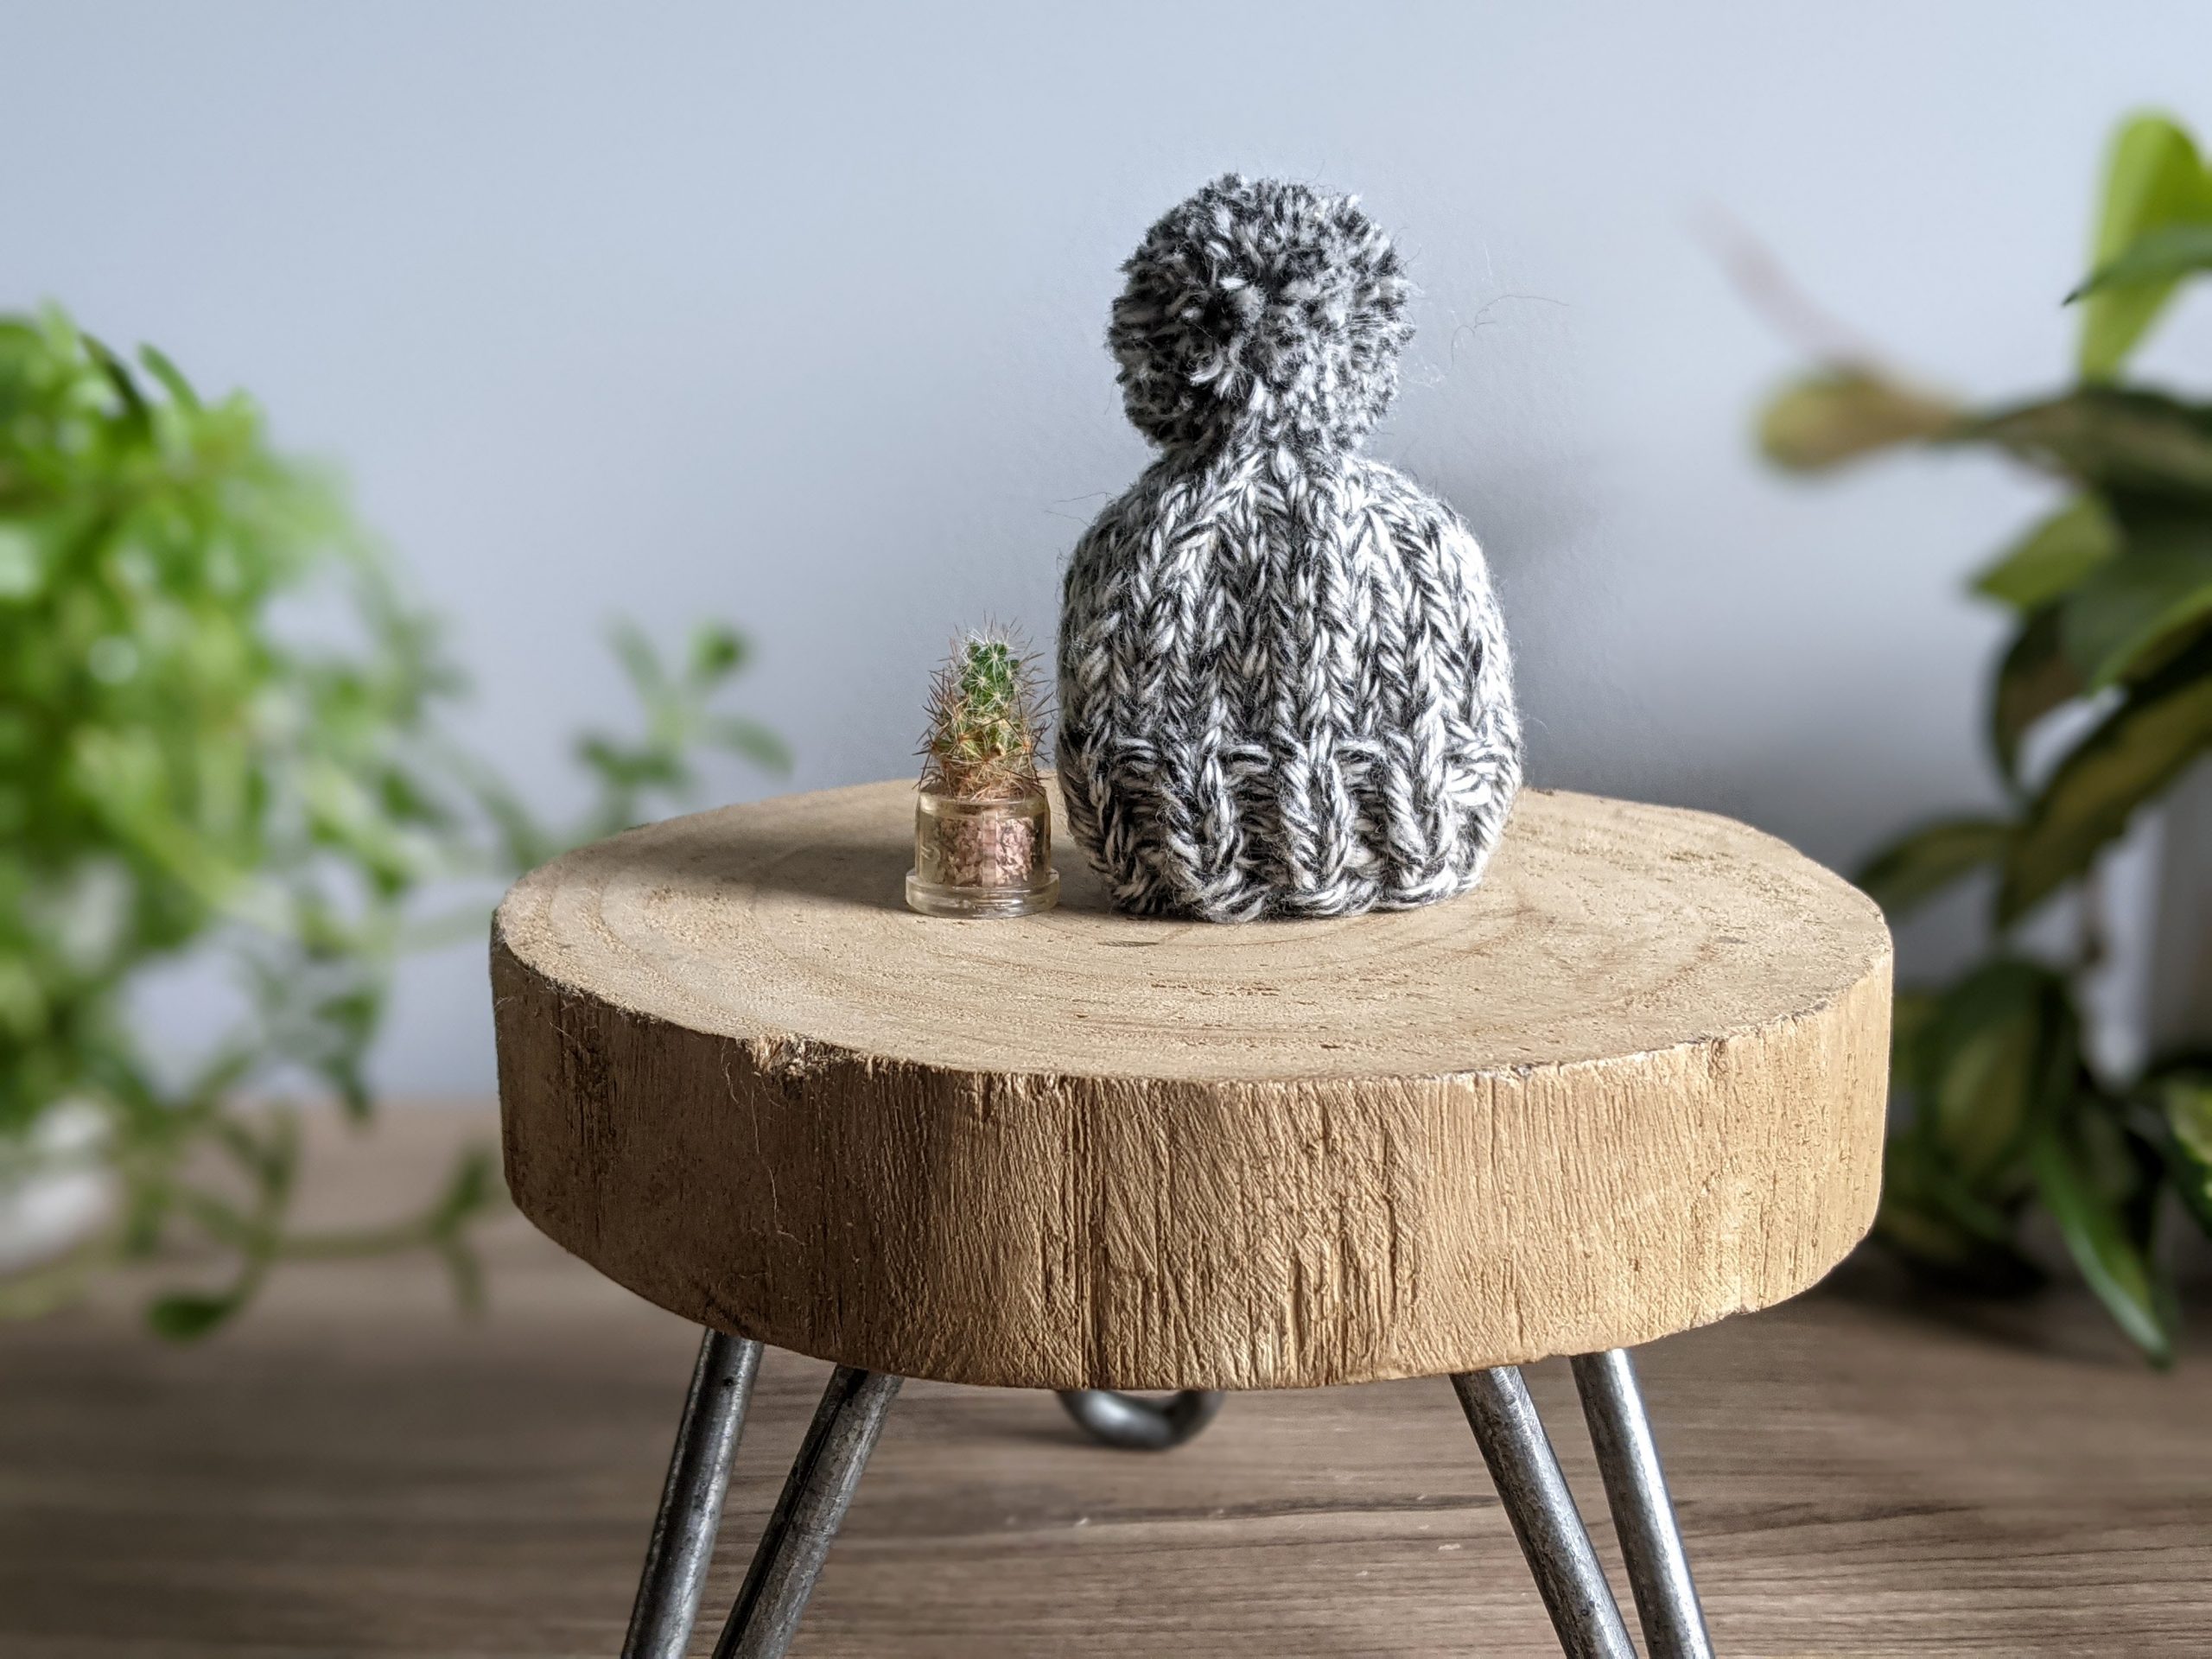
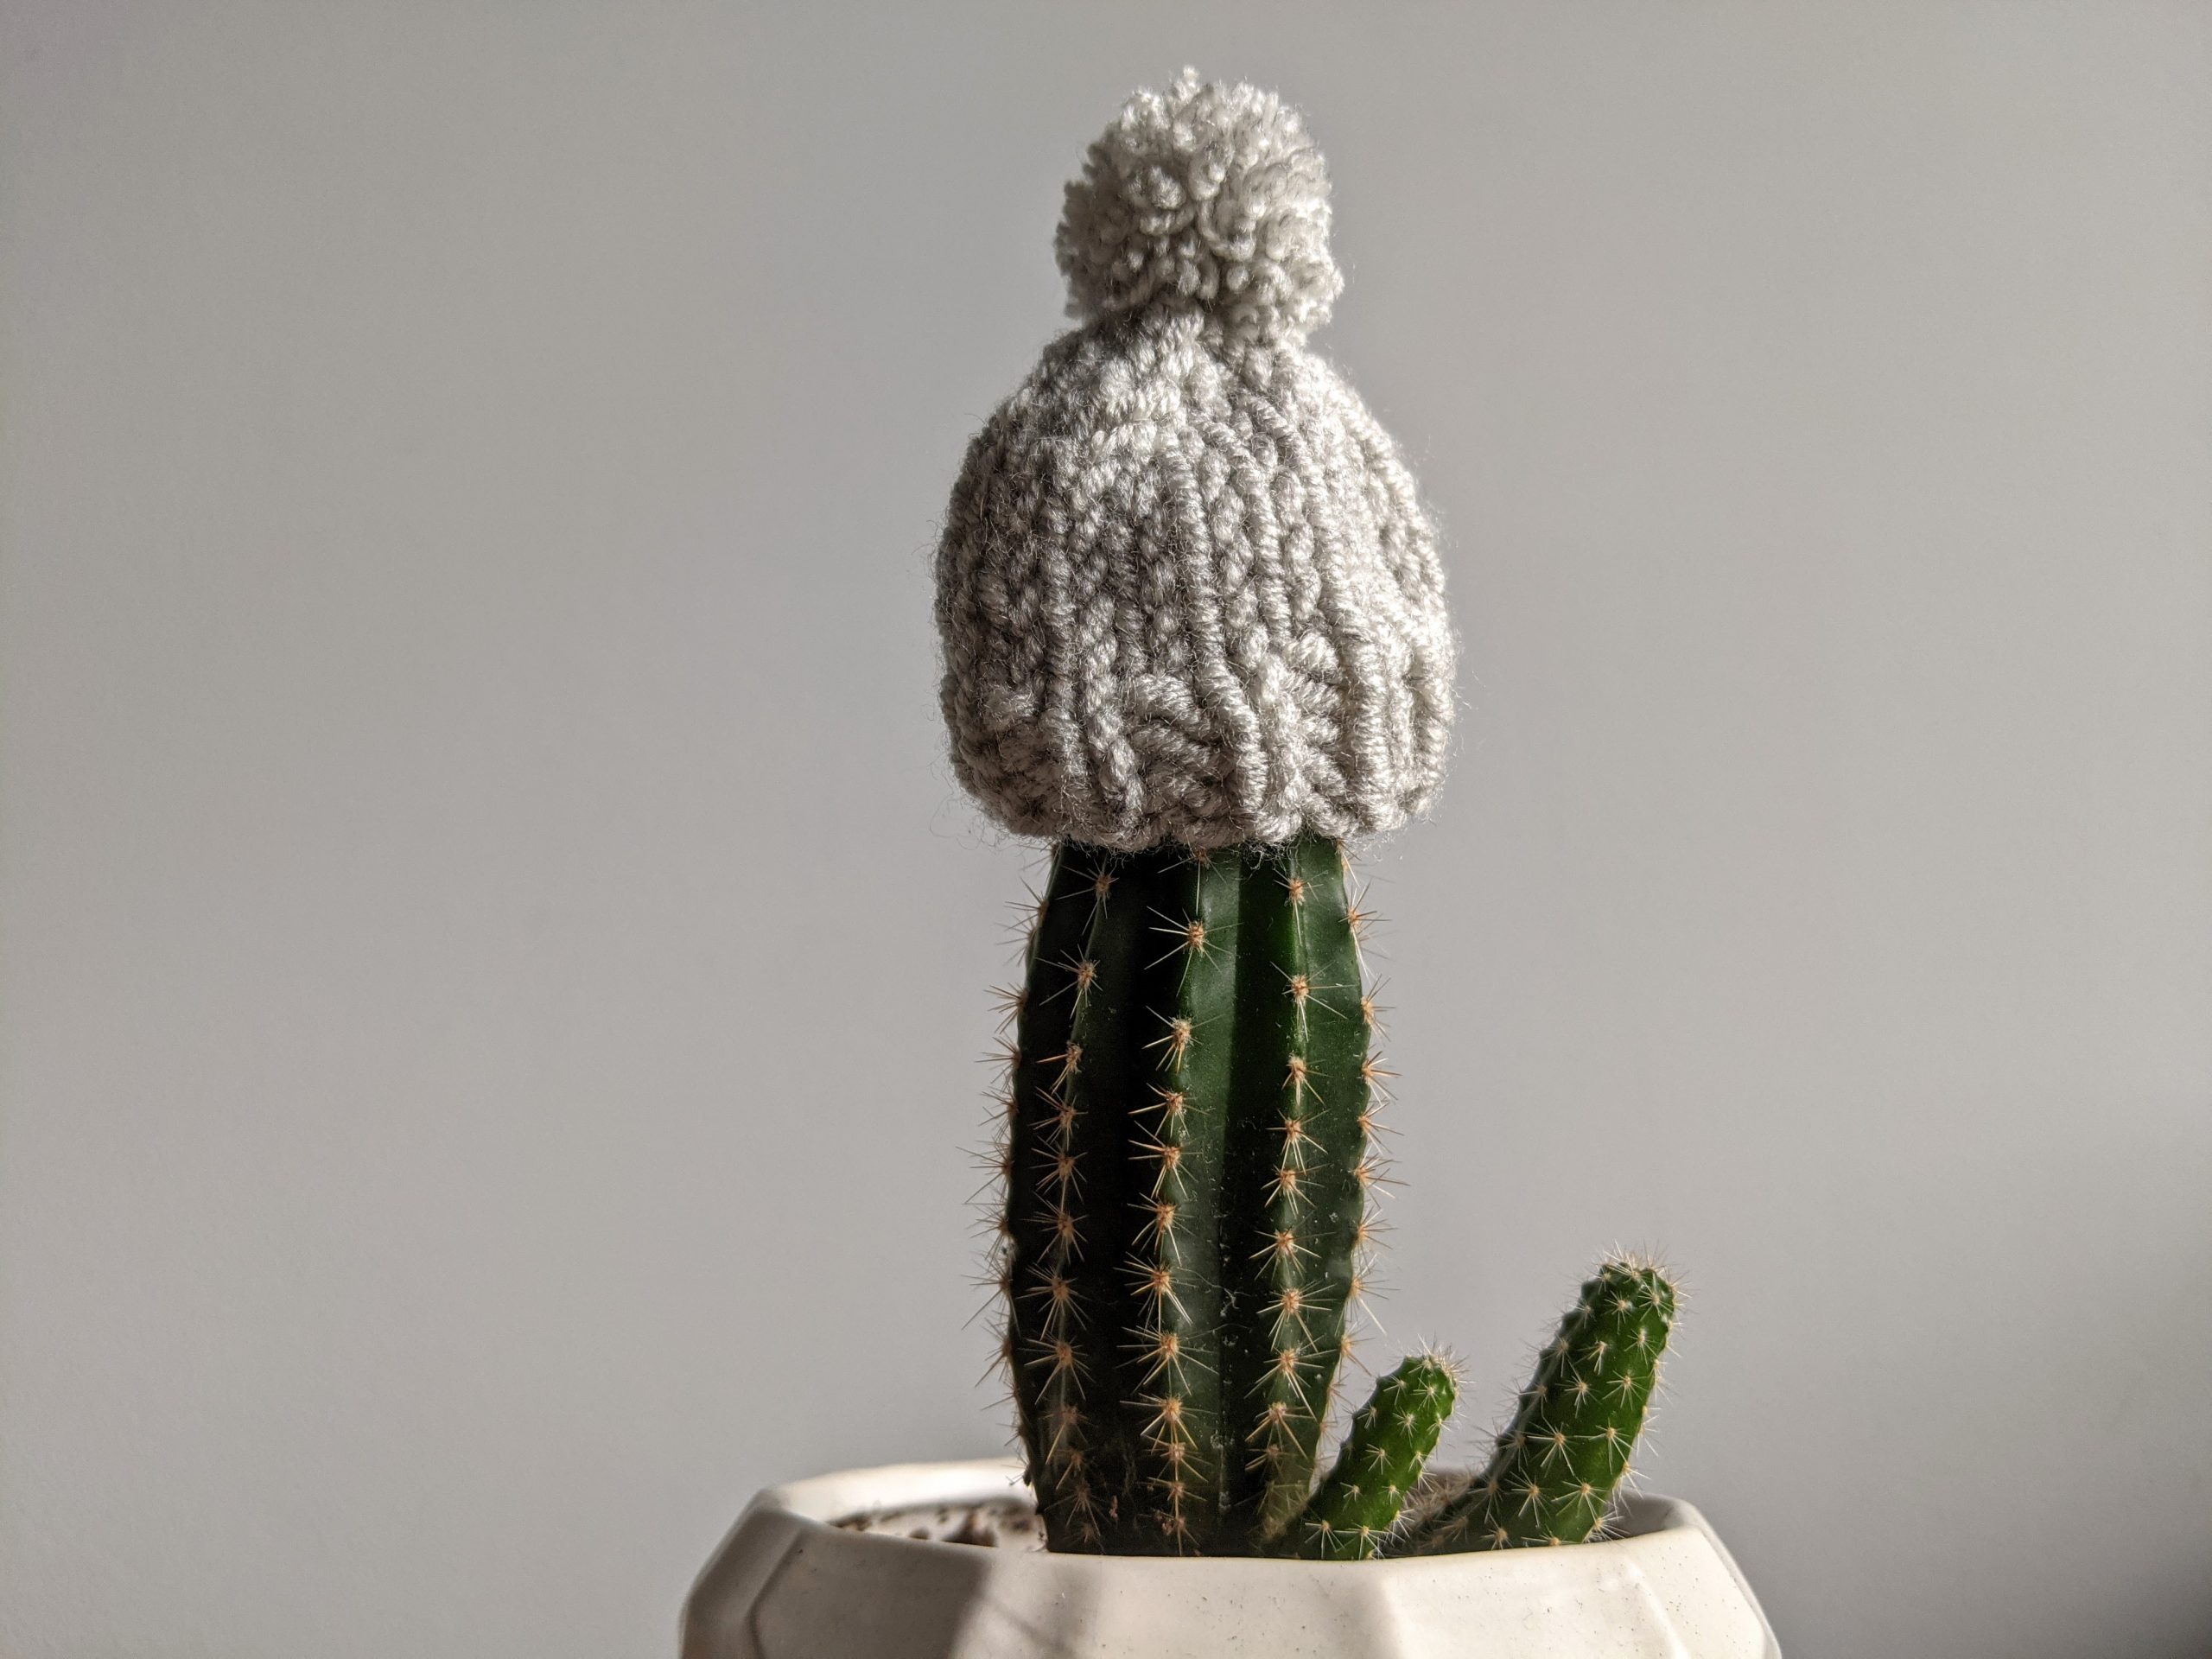
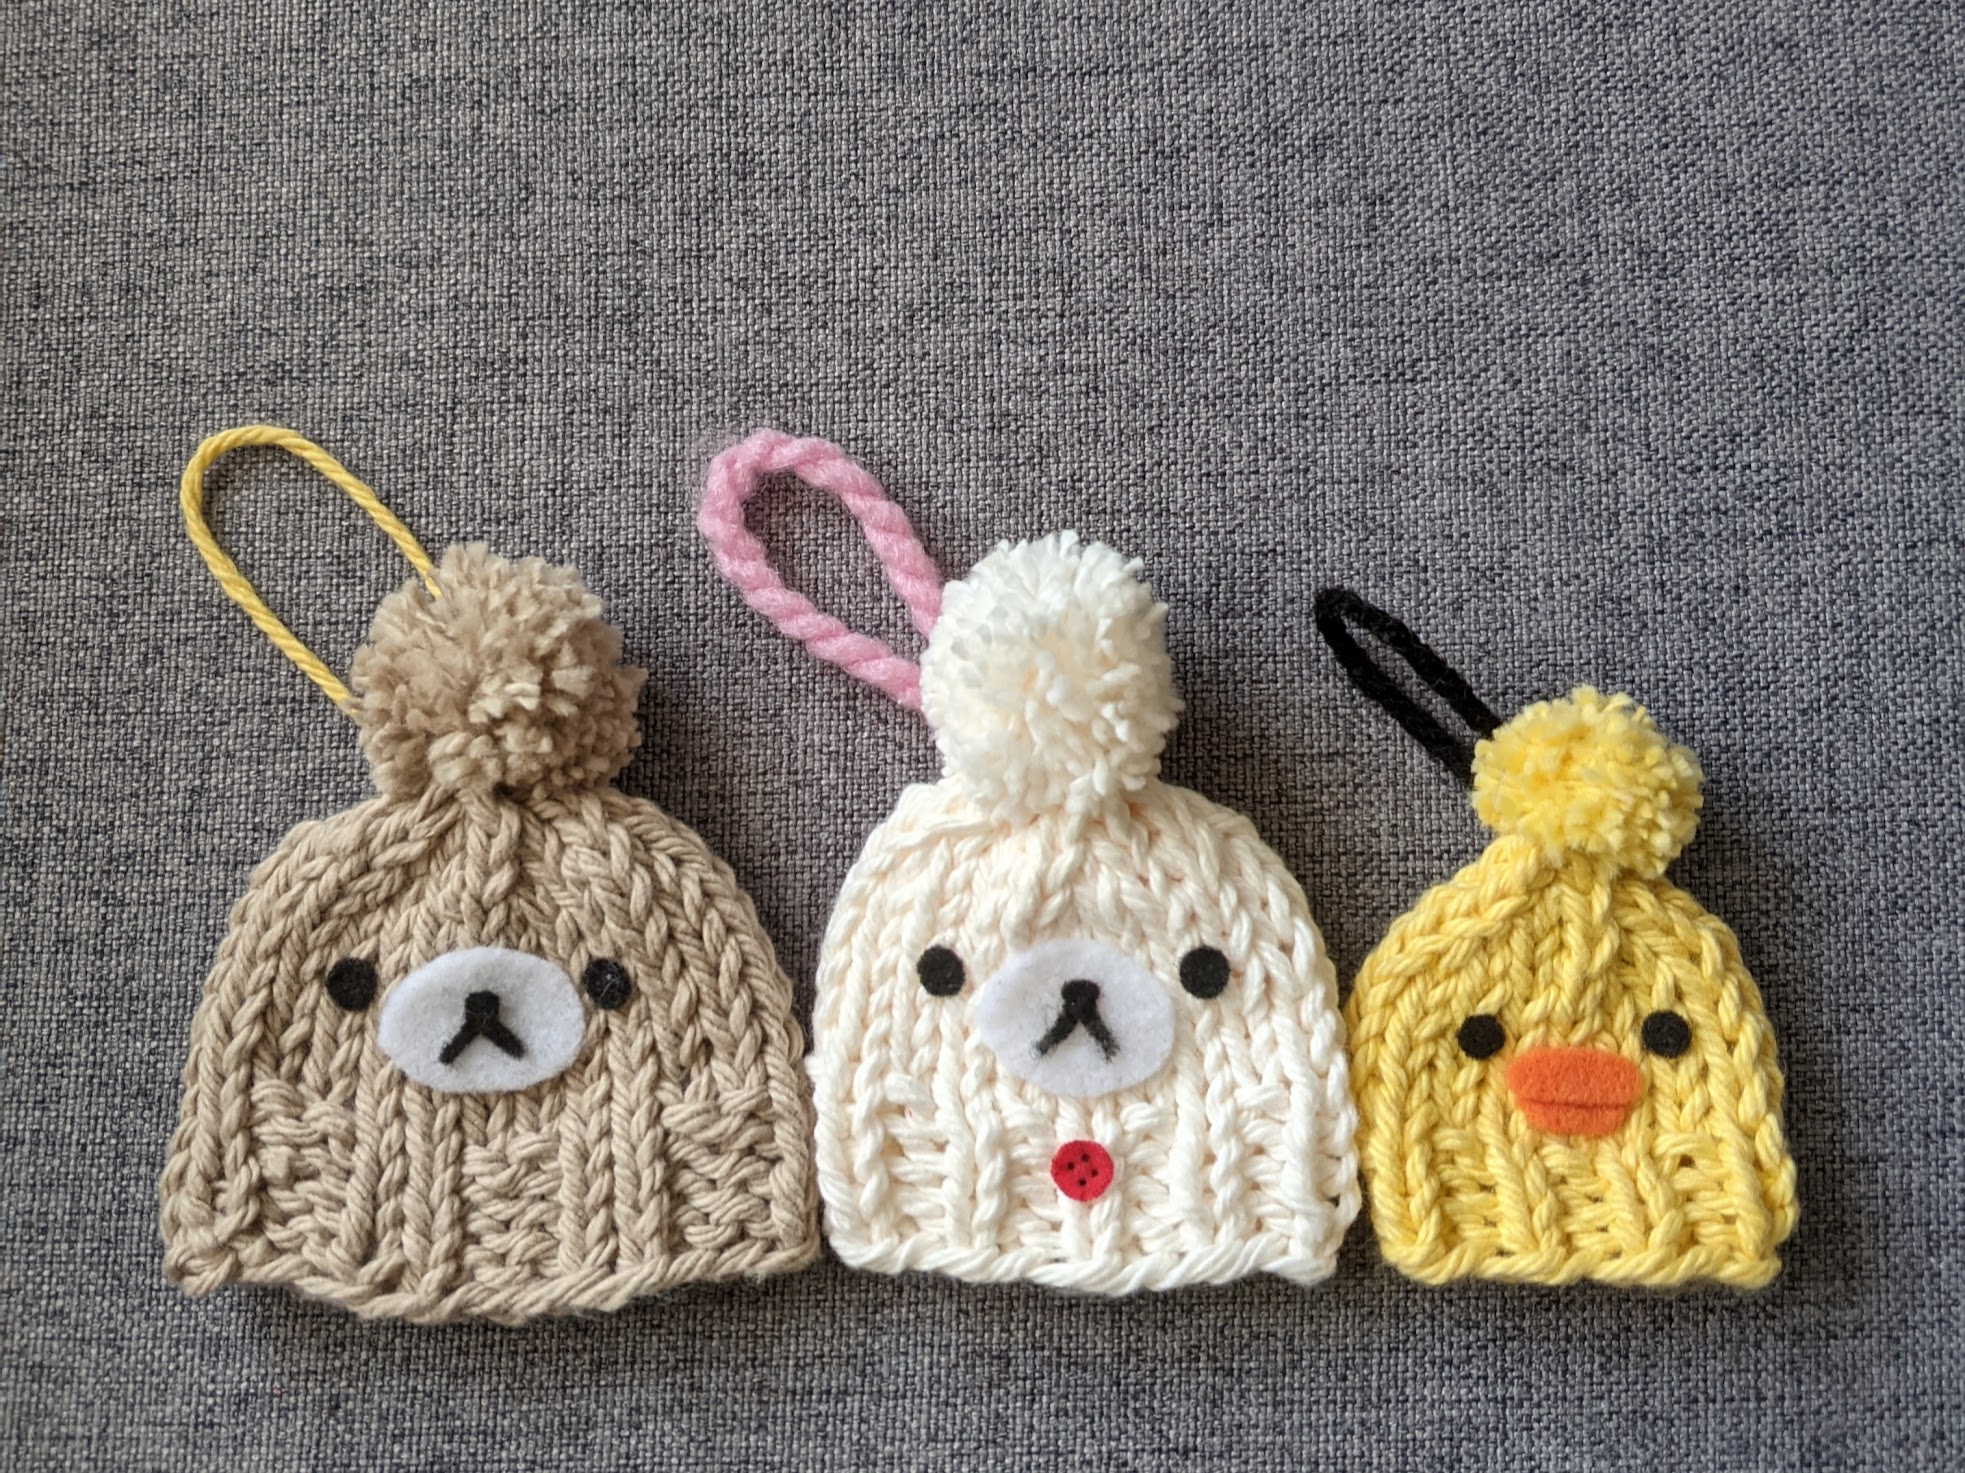
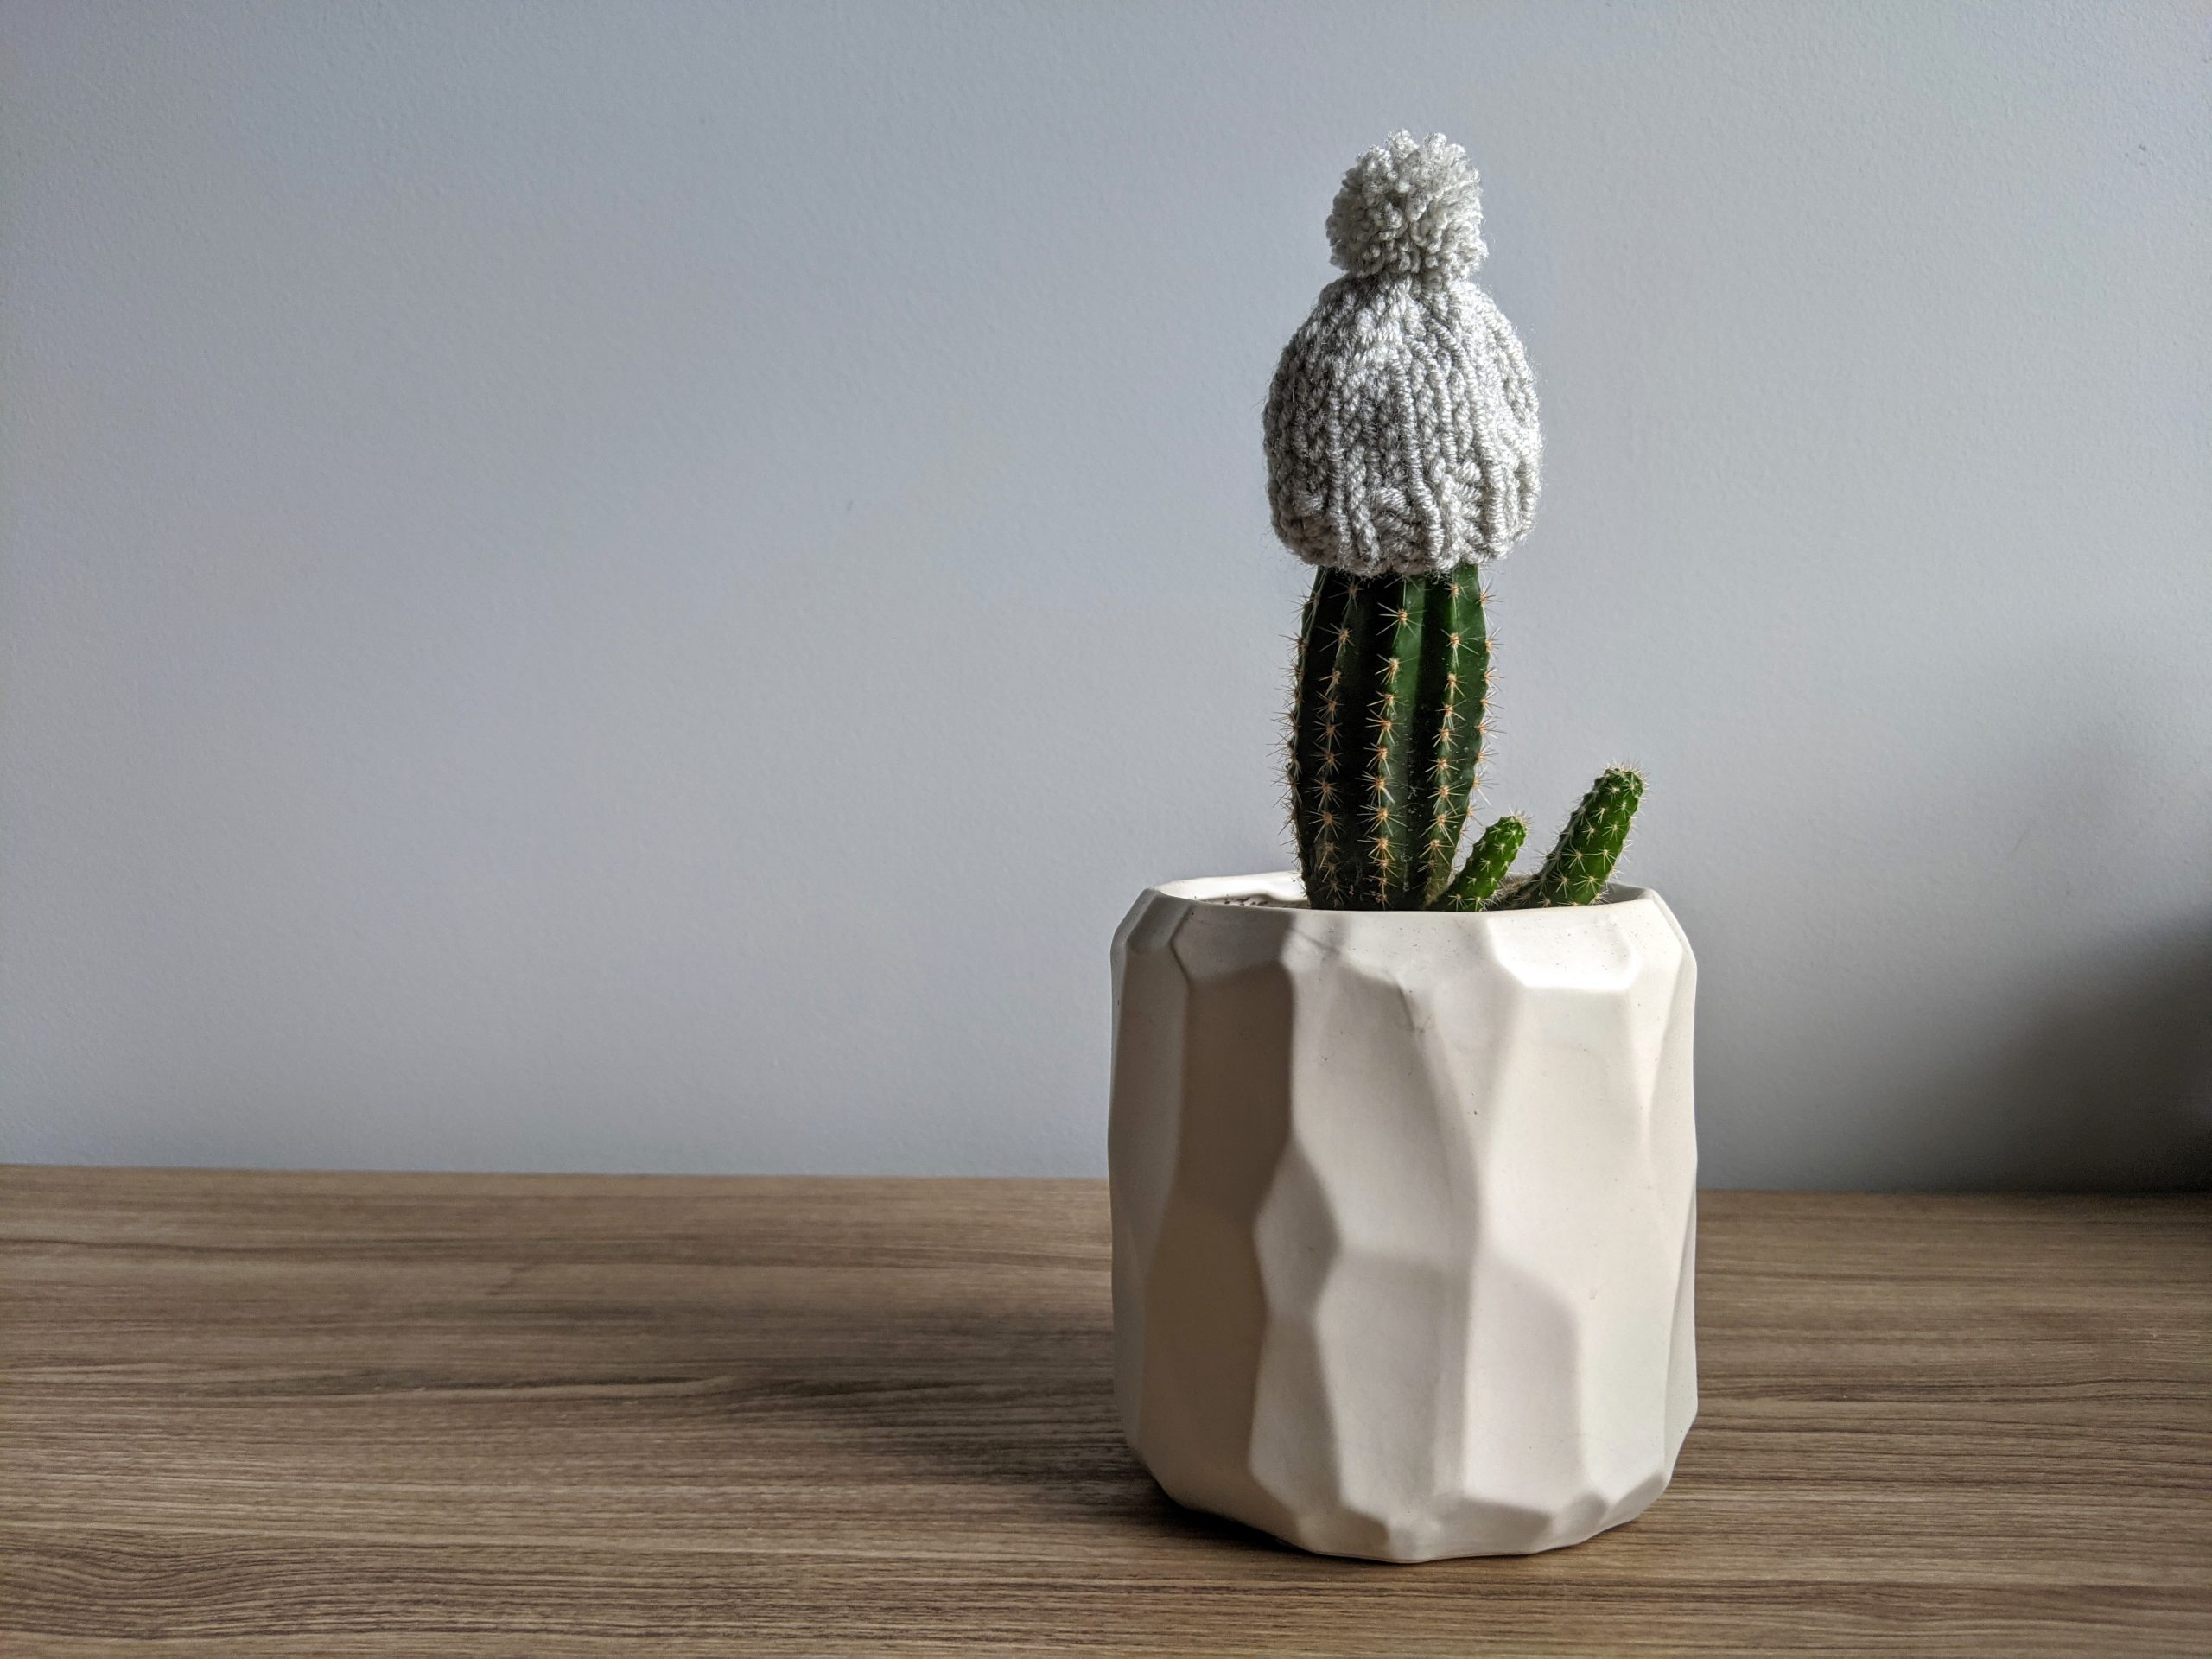
I'm pretty happy with the results, and I found a couple uses for them:
You can pretty much liven up anything with a tiny, cutie beanie!
DIFFICULTY LEVEL
This is a beginner friendly pattern. Besides the basic knit and purl stitch, you'll need to know how to knit in the round with double-pointed needles, decrease by knitting two stiches together, and make a pom pom.
GAUGE
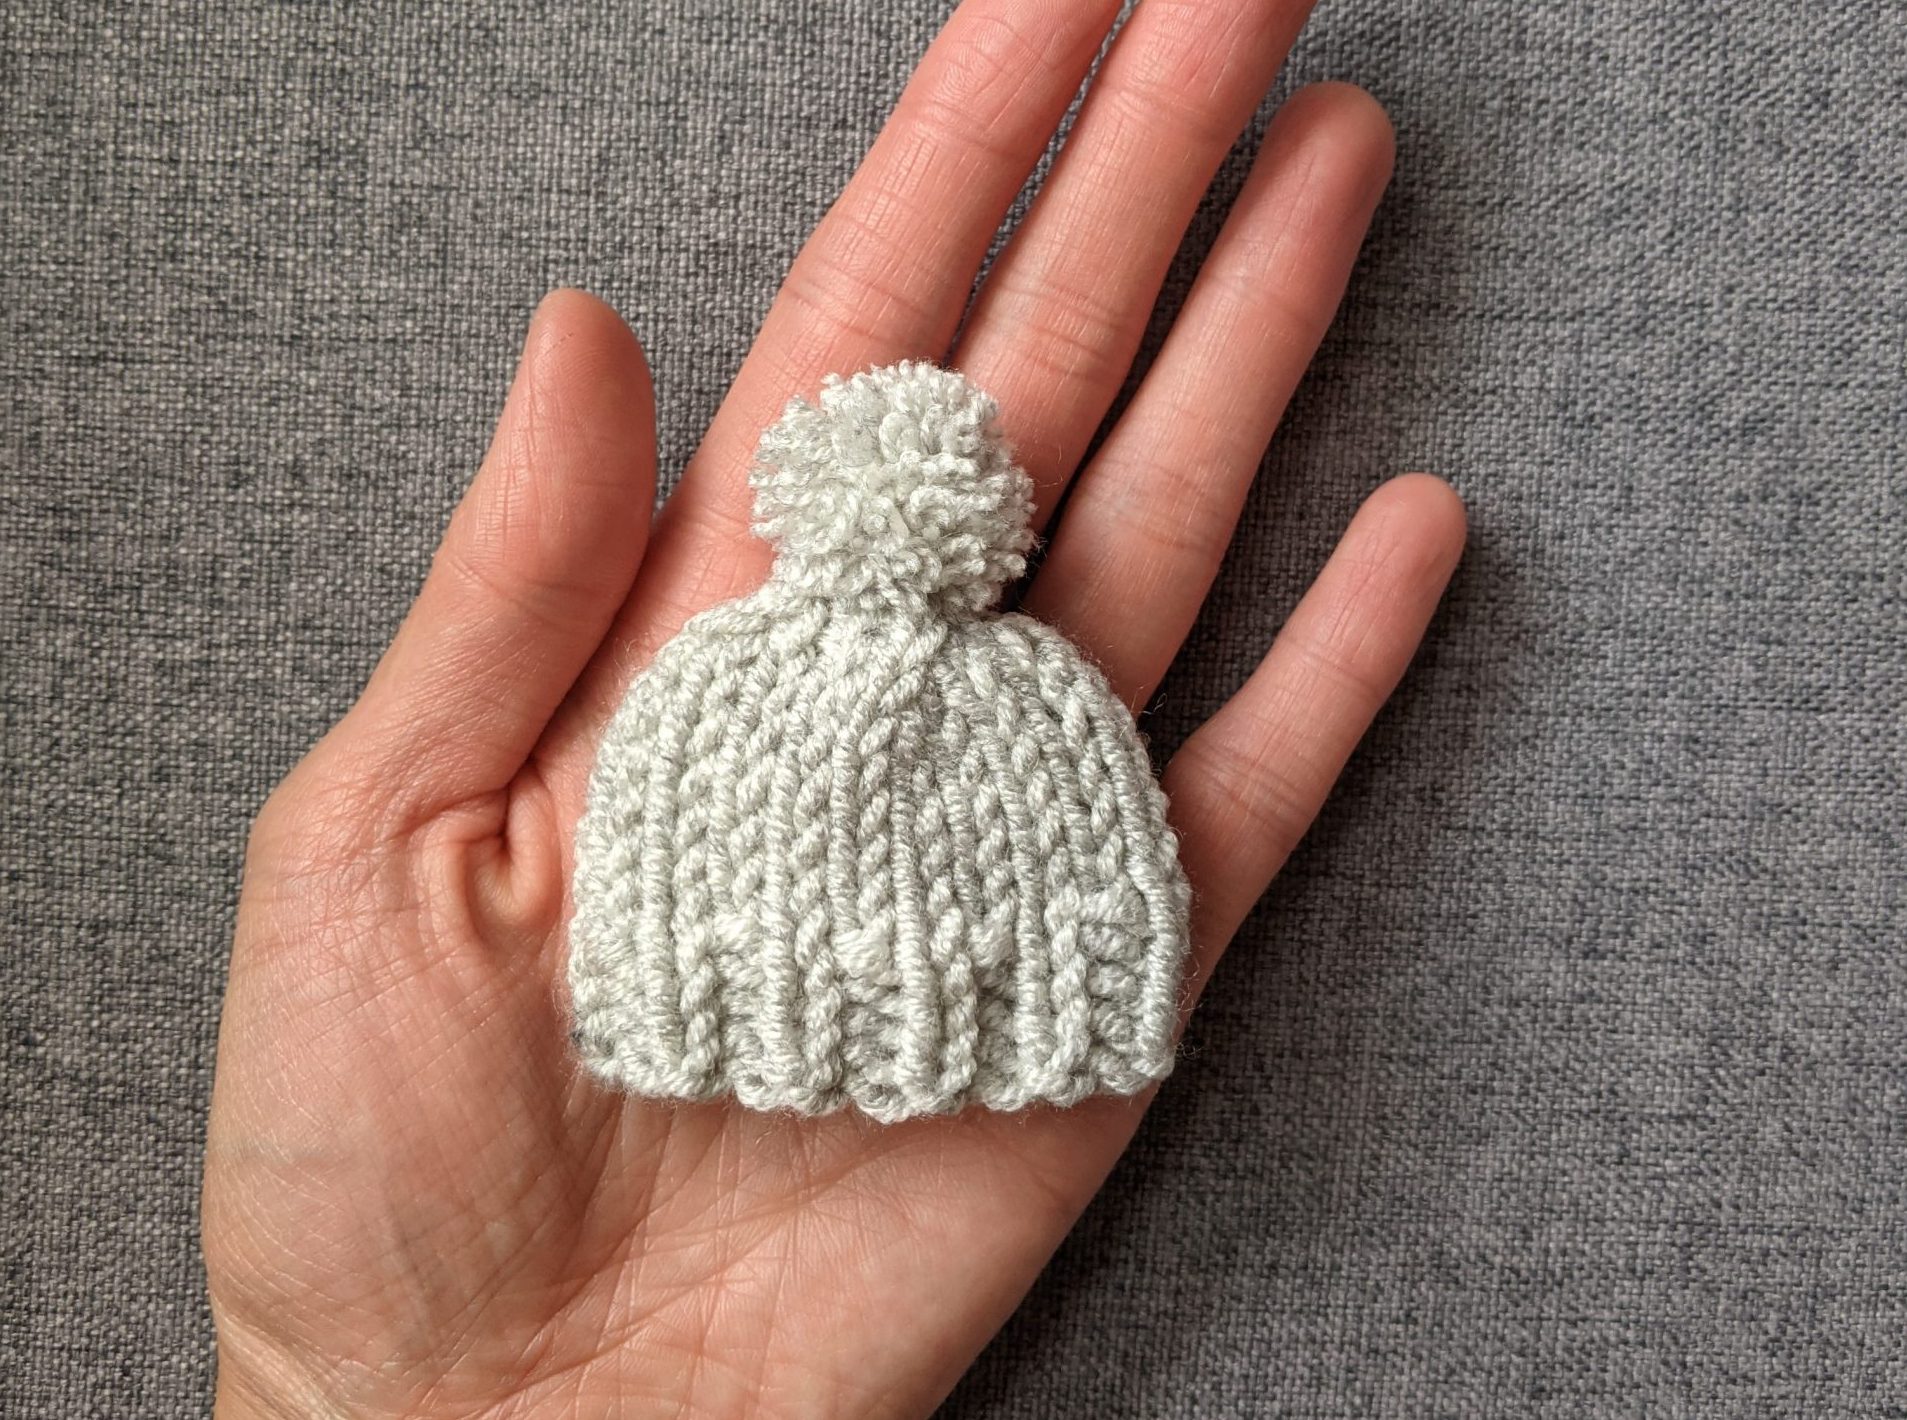
Gauge is not critical for this pattern. If you want a larger beanie, you can use a bulkier-weight yarn or a larger needle size. For a smaller beanie, you can use a lighter-weight yarn or smaller needle size. My final measurements are 2.5" x 2" (6.35cm x 5.08cm).
MATERIALS
ABBREVIATIONS
K = Knit
P = Purl
K2tog = Knit 2 together
CO = Cast On
St(s) = Stitch(es)
Rep = Repeat
THE PATTERN
Below is the free pattern for my teenie beanie! If you prefer a written pattern with step-by-step pictures as a downloadable PDF, you can add it to your cart HERE.
You can also purchase it on Ravelry or at my Etsy shop.
SETUP
On double-pointed needles, CO 20 sts and divide amongst three needles (6 sts on one needle, and 7 sts on the other two).
Make sure your stitches aren’t twisted and join in the round. You can use any technique you would like for this step, but I prefer an invisible join.
Add a stitch market to mark the beginning of the round.
BRIM & BODY
Rows 1-4: K1, P1 to end of row.
Rows 5-10: K all sts.
SHAPING THE CROWN
Row 11: *K3, K2tog*; rep from * to end of row. You will have 16 sts.
Row 12: *K2, K2tog*; rep from * to end of row (12 sts).
Row 13: *K1, K2ttog*; rep from * to end of row (8 sts).
Row 14: K2tog until end of row. (4 sts).
FINISHING
Cut the yarn, leaving a 6-in (15cm) tail. Use your tapestry needle to thread the tail through the remaining sts. Pull the yarn tight and weave in tail to secure.
Weave in and trim all ends.
MAKING THE POM POM
Cut a 6-in (15cm) piece of scrap yarn and set aside for later use.
With the ball of yarn, insert the end into the middle space of your fork. Begin wrapping around the end to keep it in place. You will wrap the yarn around the fork 17 times. Cut the yarn.
Grab your scrap piece of yarn and thread it in the middle space of your fork. Tie the yarn around the wrapped yarn and double knot as tight as you humanly can to prevent the pom pom from falling apart or creating a line.
Carefully pull the bundle off of the fork. Cut the loops and trim the pom pom into a tiny spherical shape.
Attach it to the top of your teenie beanie by pulling one of the ends through a hole at the top of the hat and the other end through a separate hole. You don’t want to pull both ends through the same hole. Secure with a double knot.
Tip: A small pom pom is harder to work with than a larger size. Make your knots as tight as possible.